Autumn and Halloween Bio Glitter Slime ? ??

Autumn and Halloween Bio Glitter Slime ? ??


We were very kindly sent some Craft Bio glitter from Brian Clegg to review.

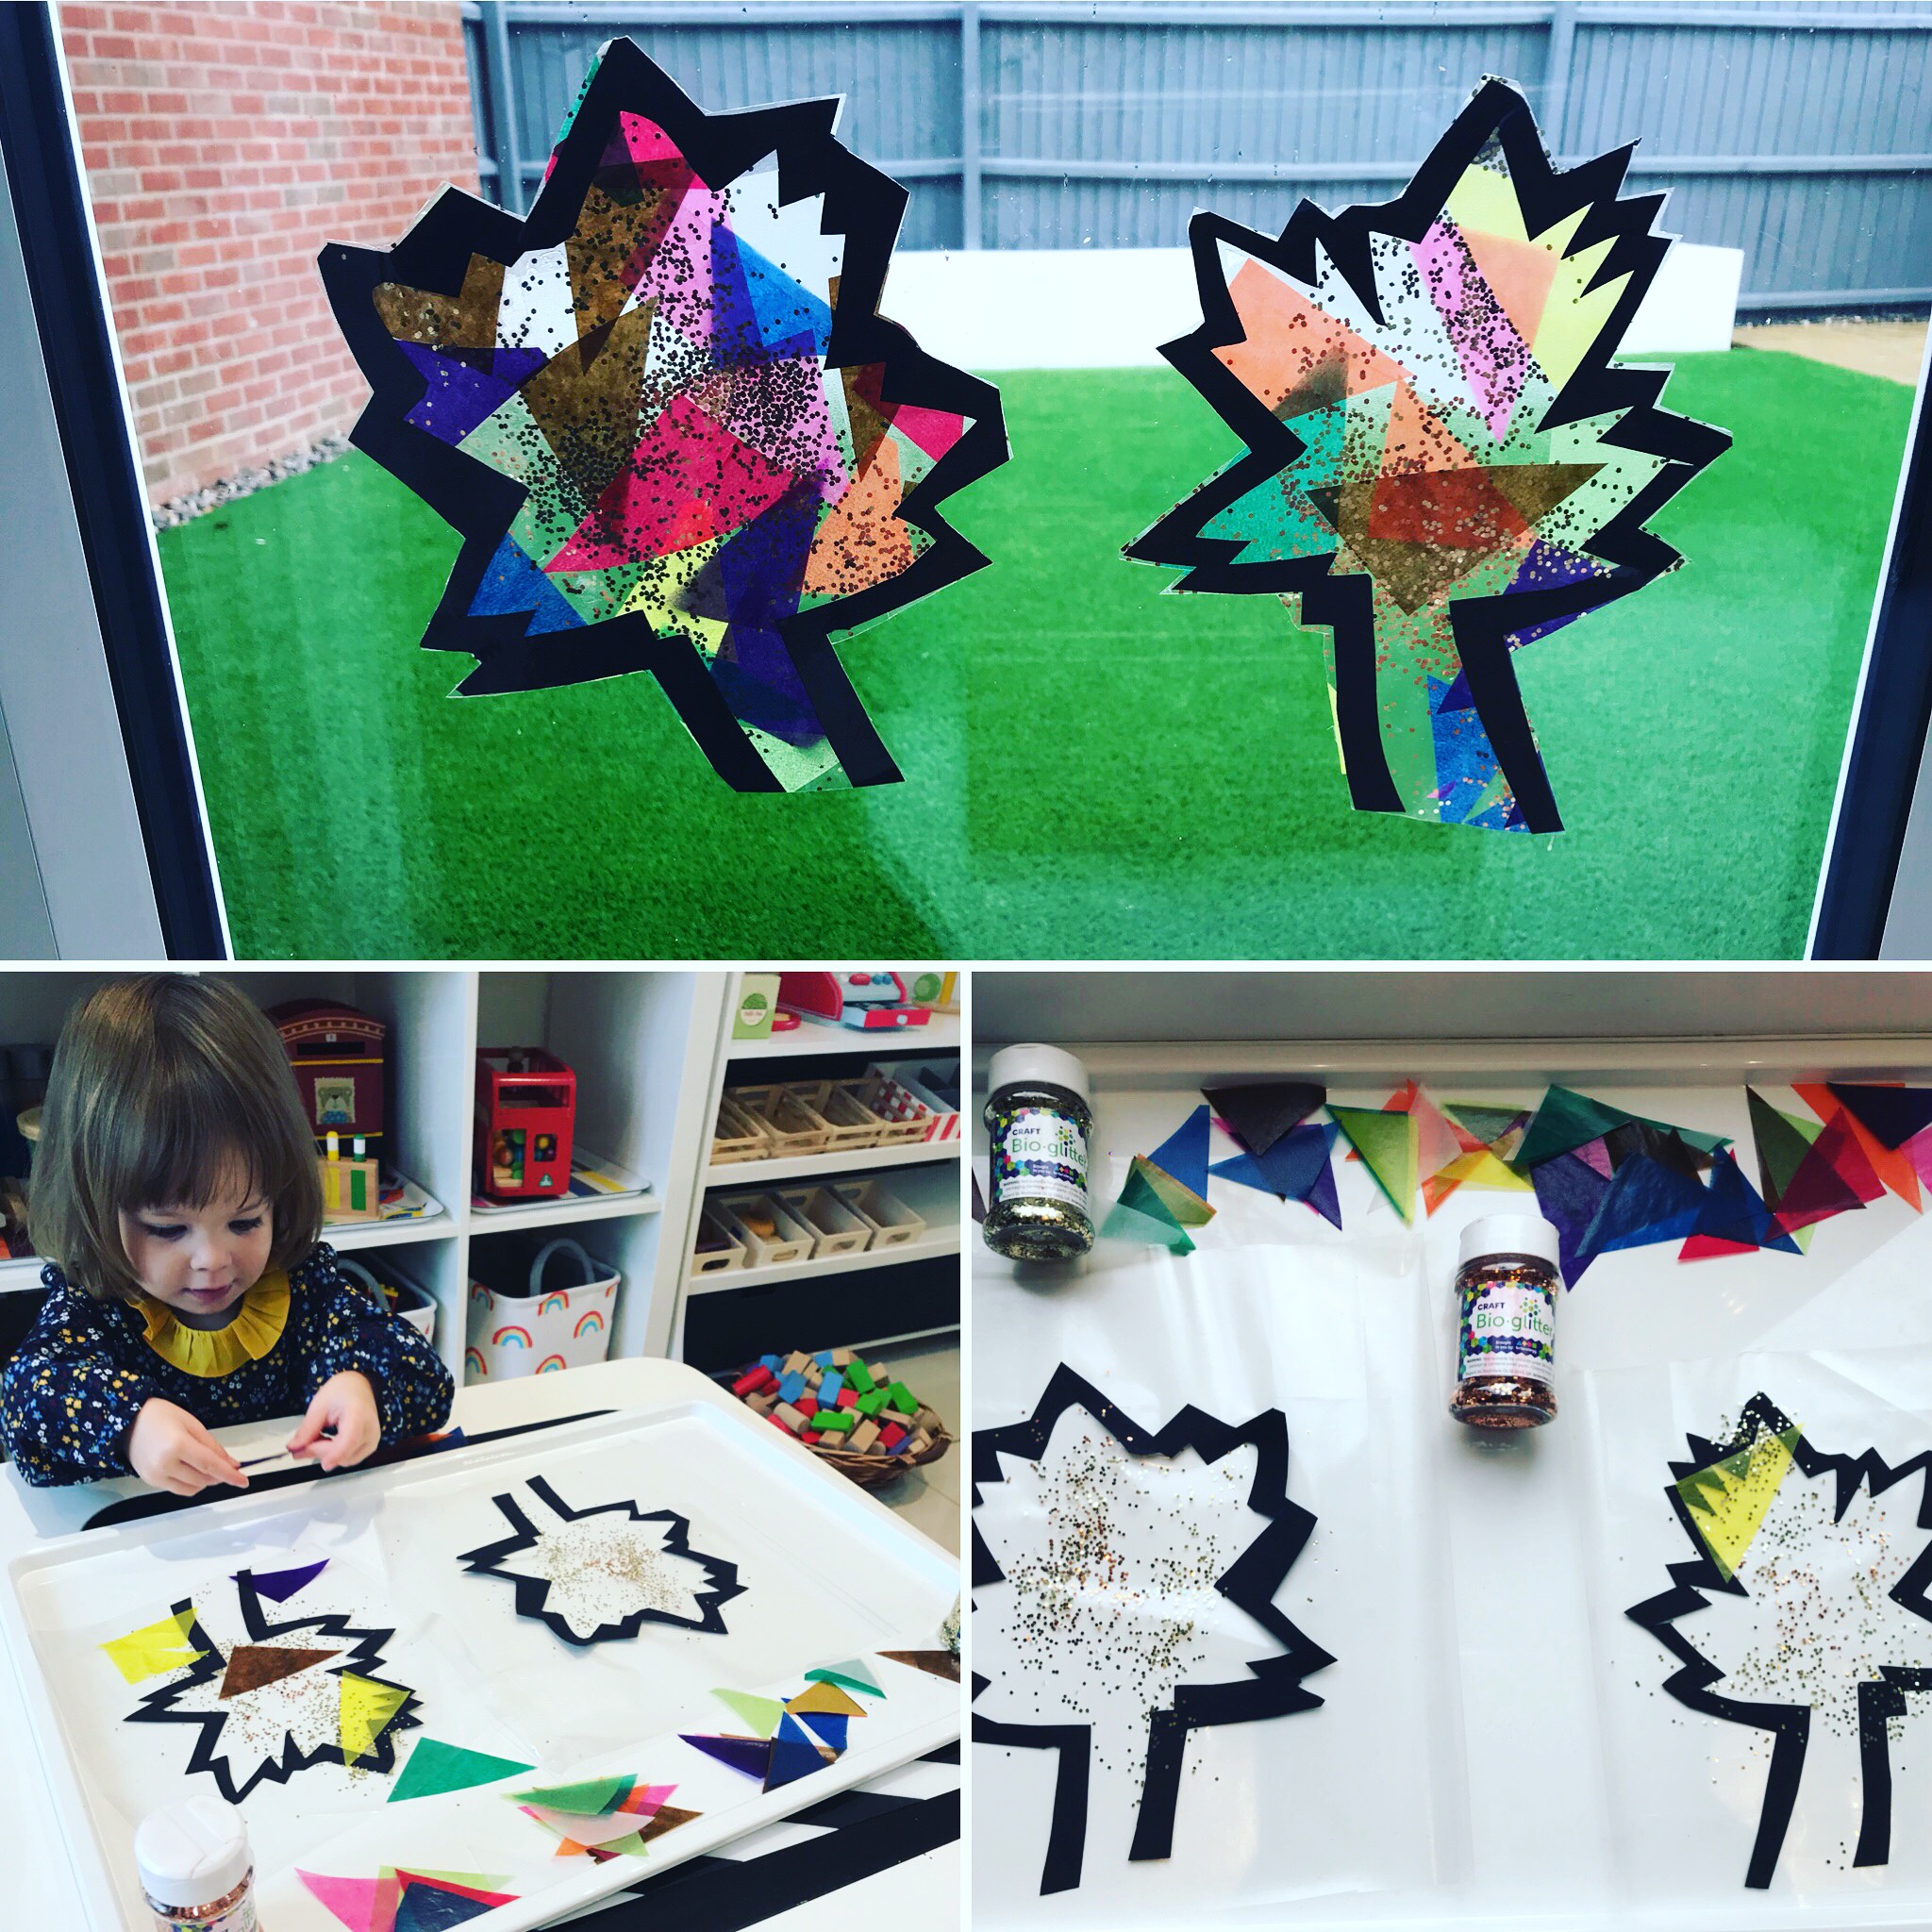
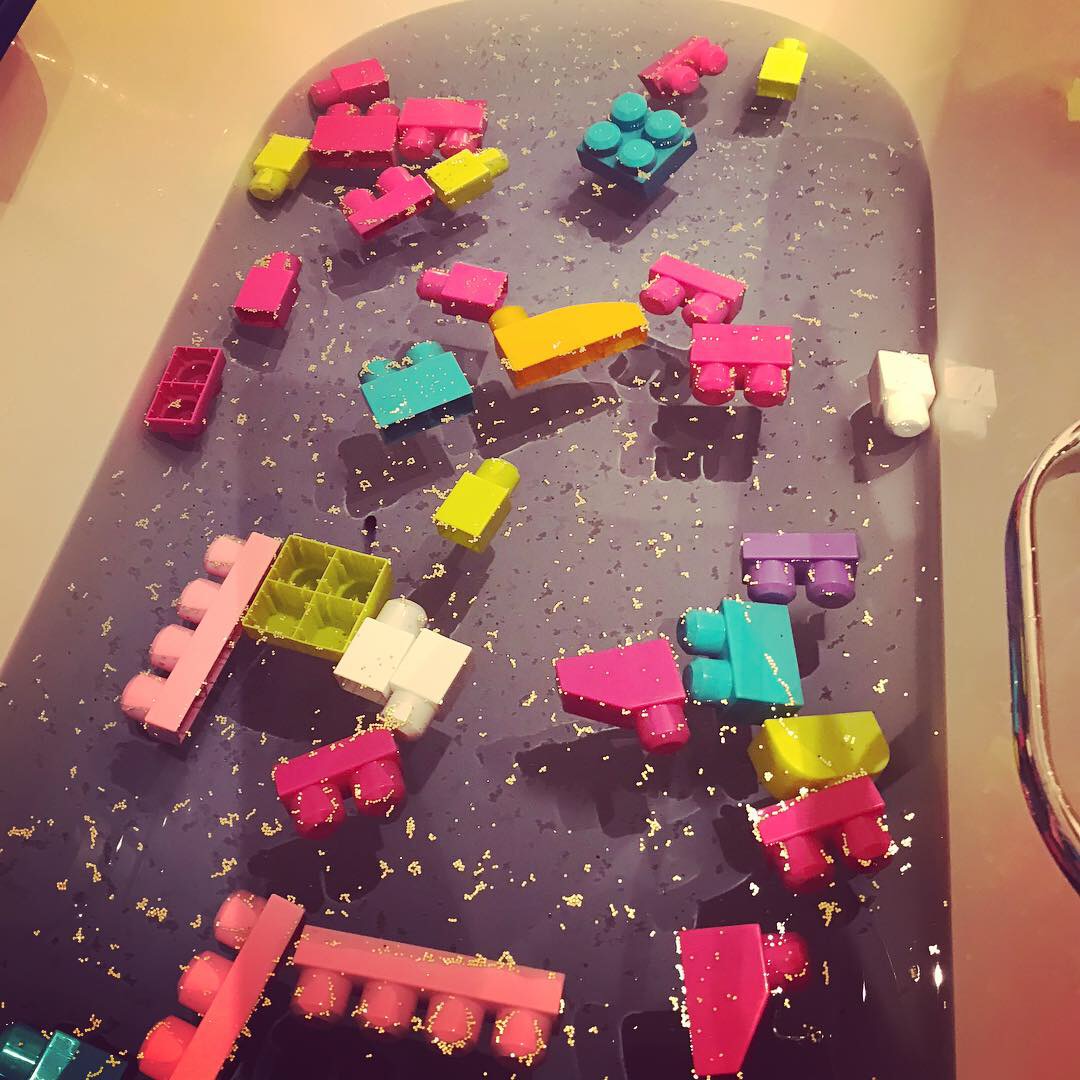
We have used it in lots of different ways, so here are a few of the ways we have used it. You can also see lots more on instagram.

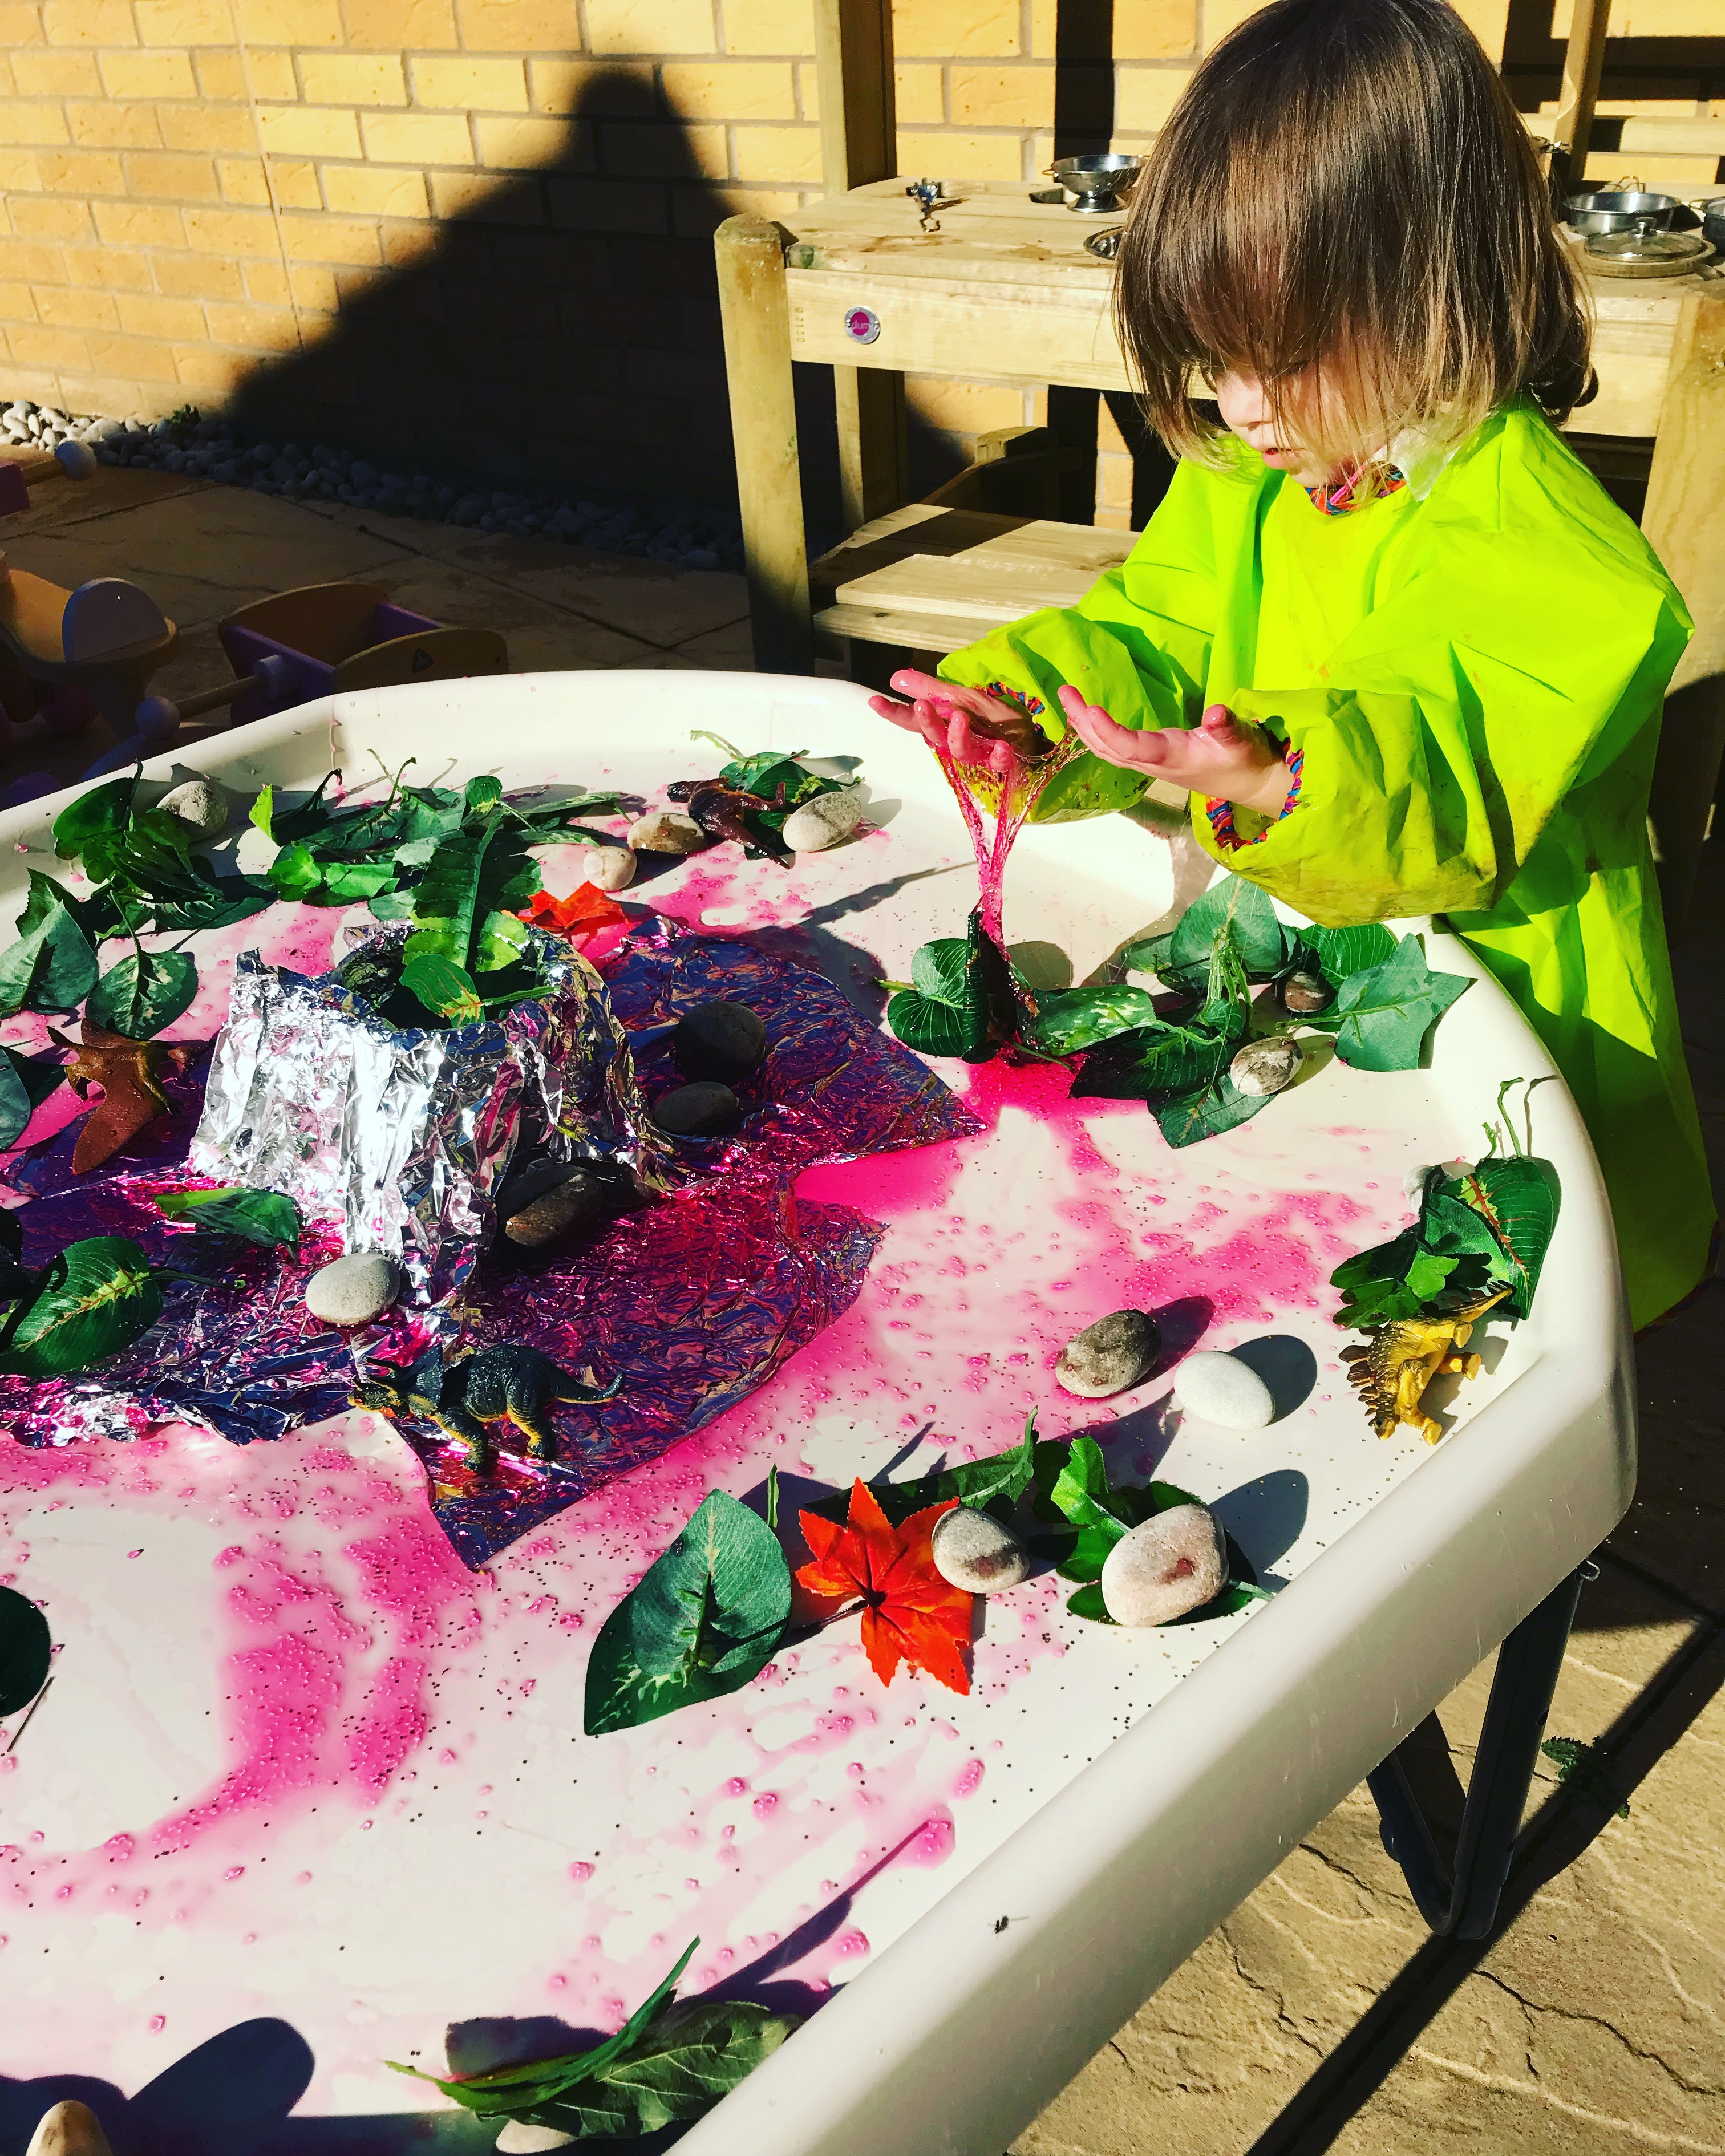
We have been making a conscious effort to try to be more eco-friendly and glitter can be so damaging to our planet so we were so excited to hear that you can now get craft bio glitter.

Bioglitter has been developed to tackle the problem of glitter related micro plastic pollution caused by glitter. Completely unique, biodegradable glitter uses plant derived material as its basis rather than polyester and is the only glitter available on the market which will biodegrade into harmless substances in the natural environment.

The glitter comes in a recyclable plastic dispenser too and I think it’s all the small steps that will make a real difference to our environment. Traditional glitter takes hundreds of years to degrade so this is an amazing step in the right direction.

You can find out more about craft bioglitter from www.brianclegg.co.uk and www.discoverbioglitter.com

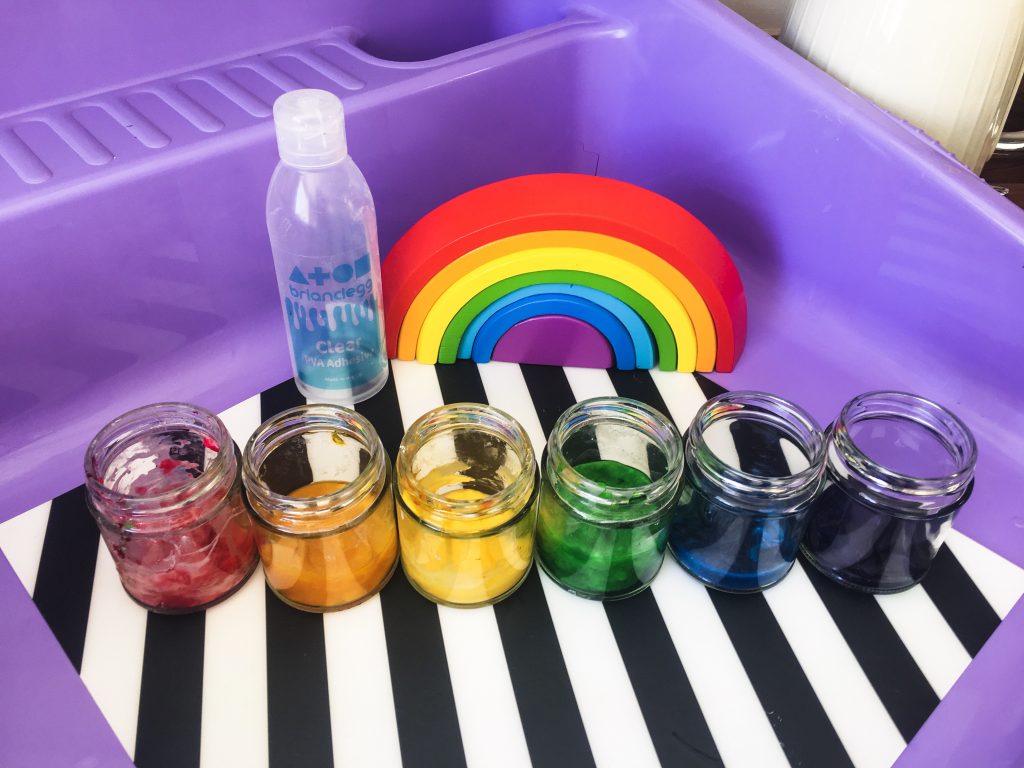
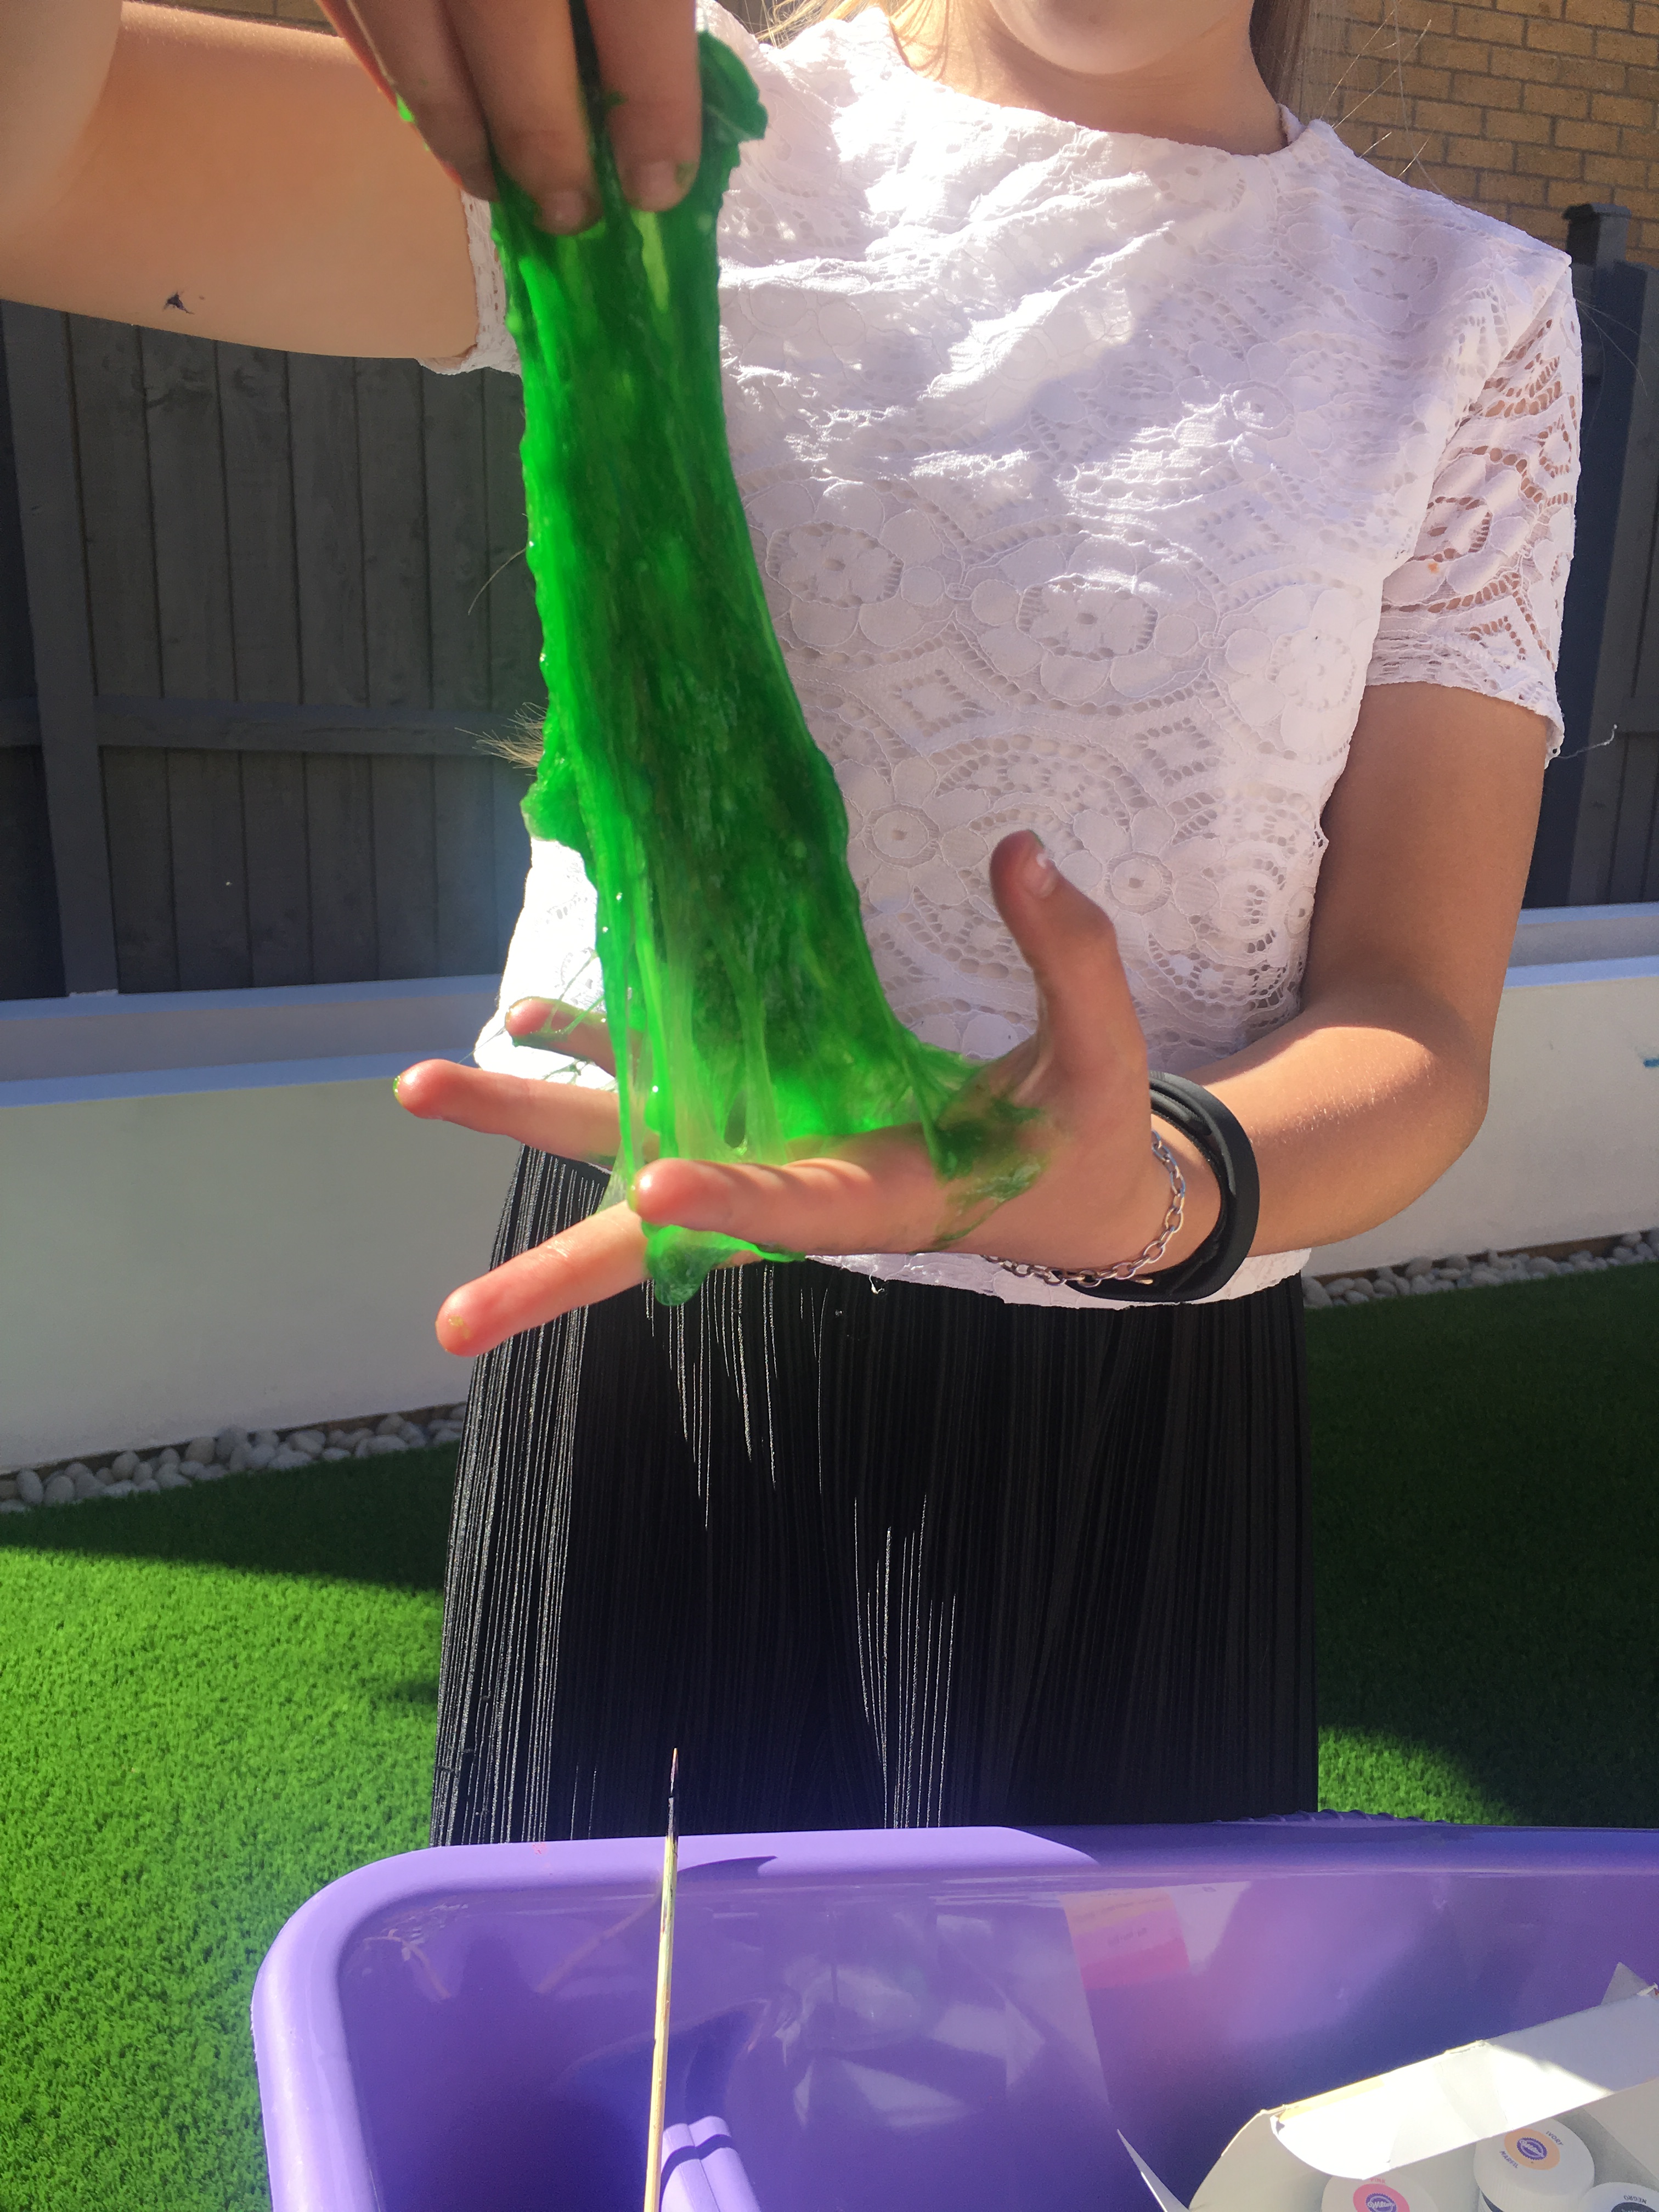
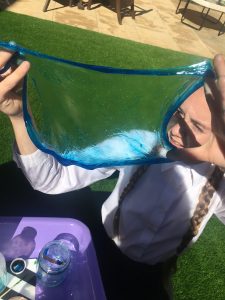
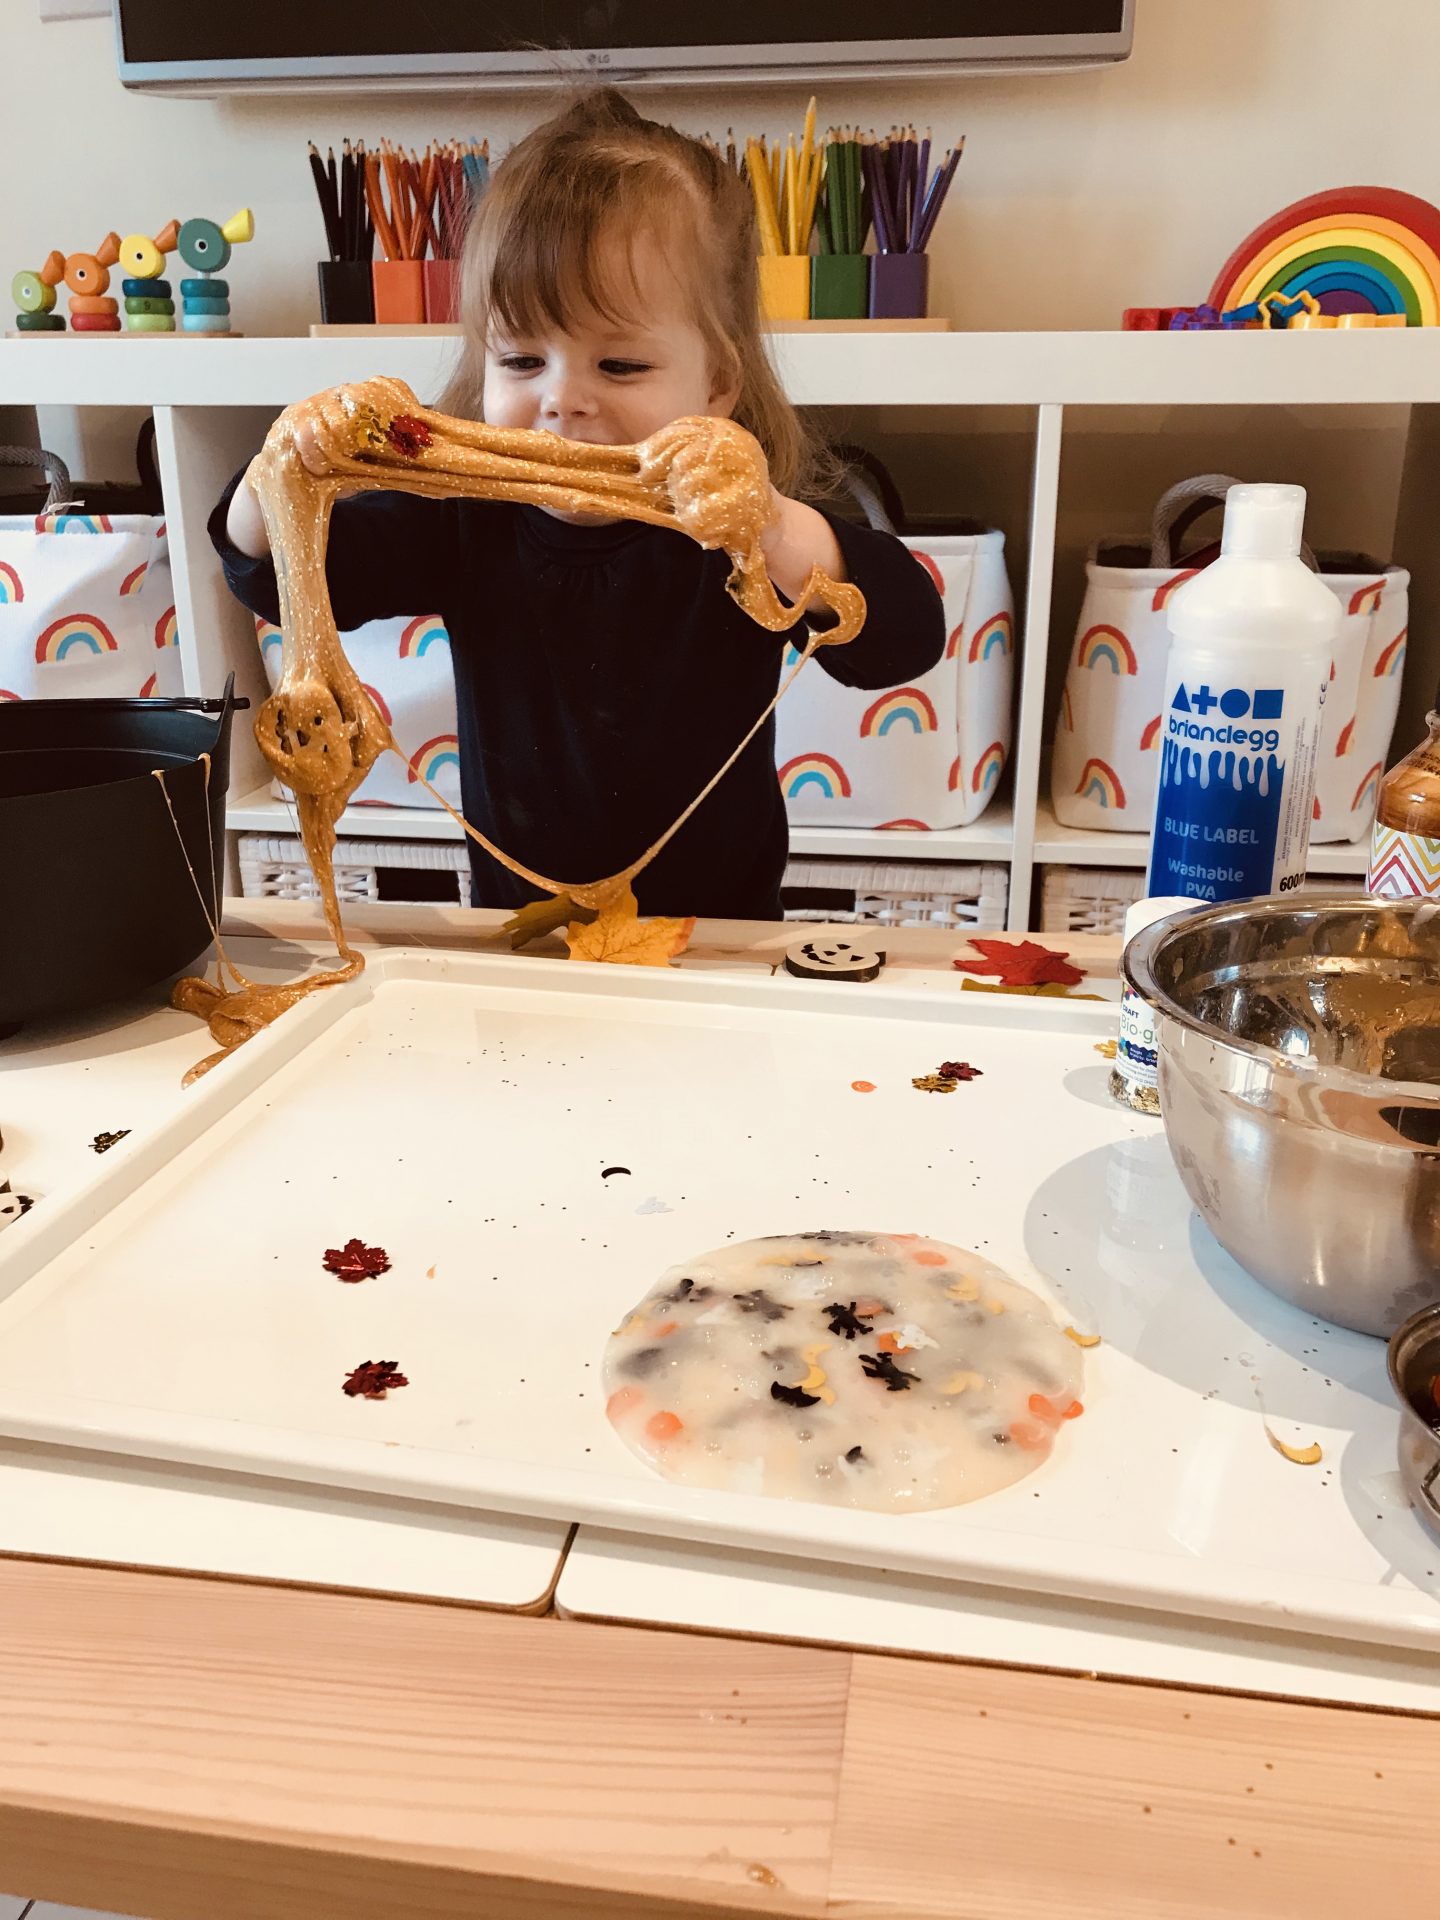
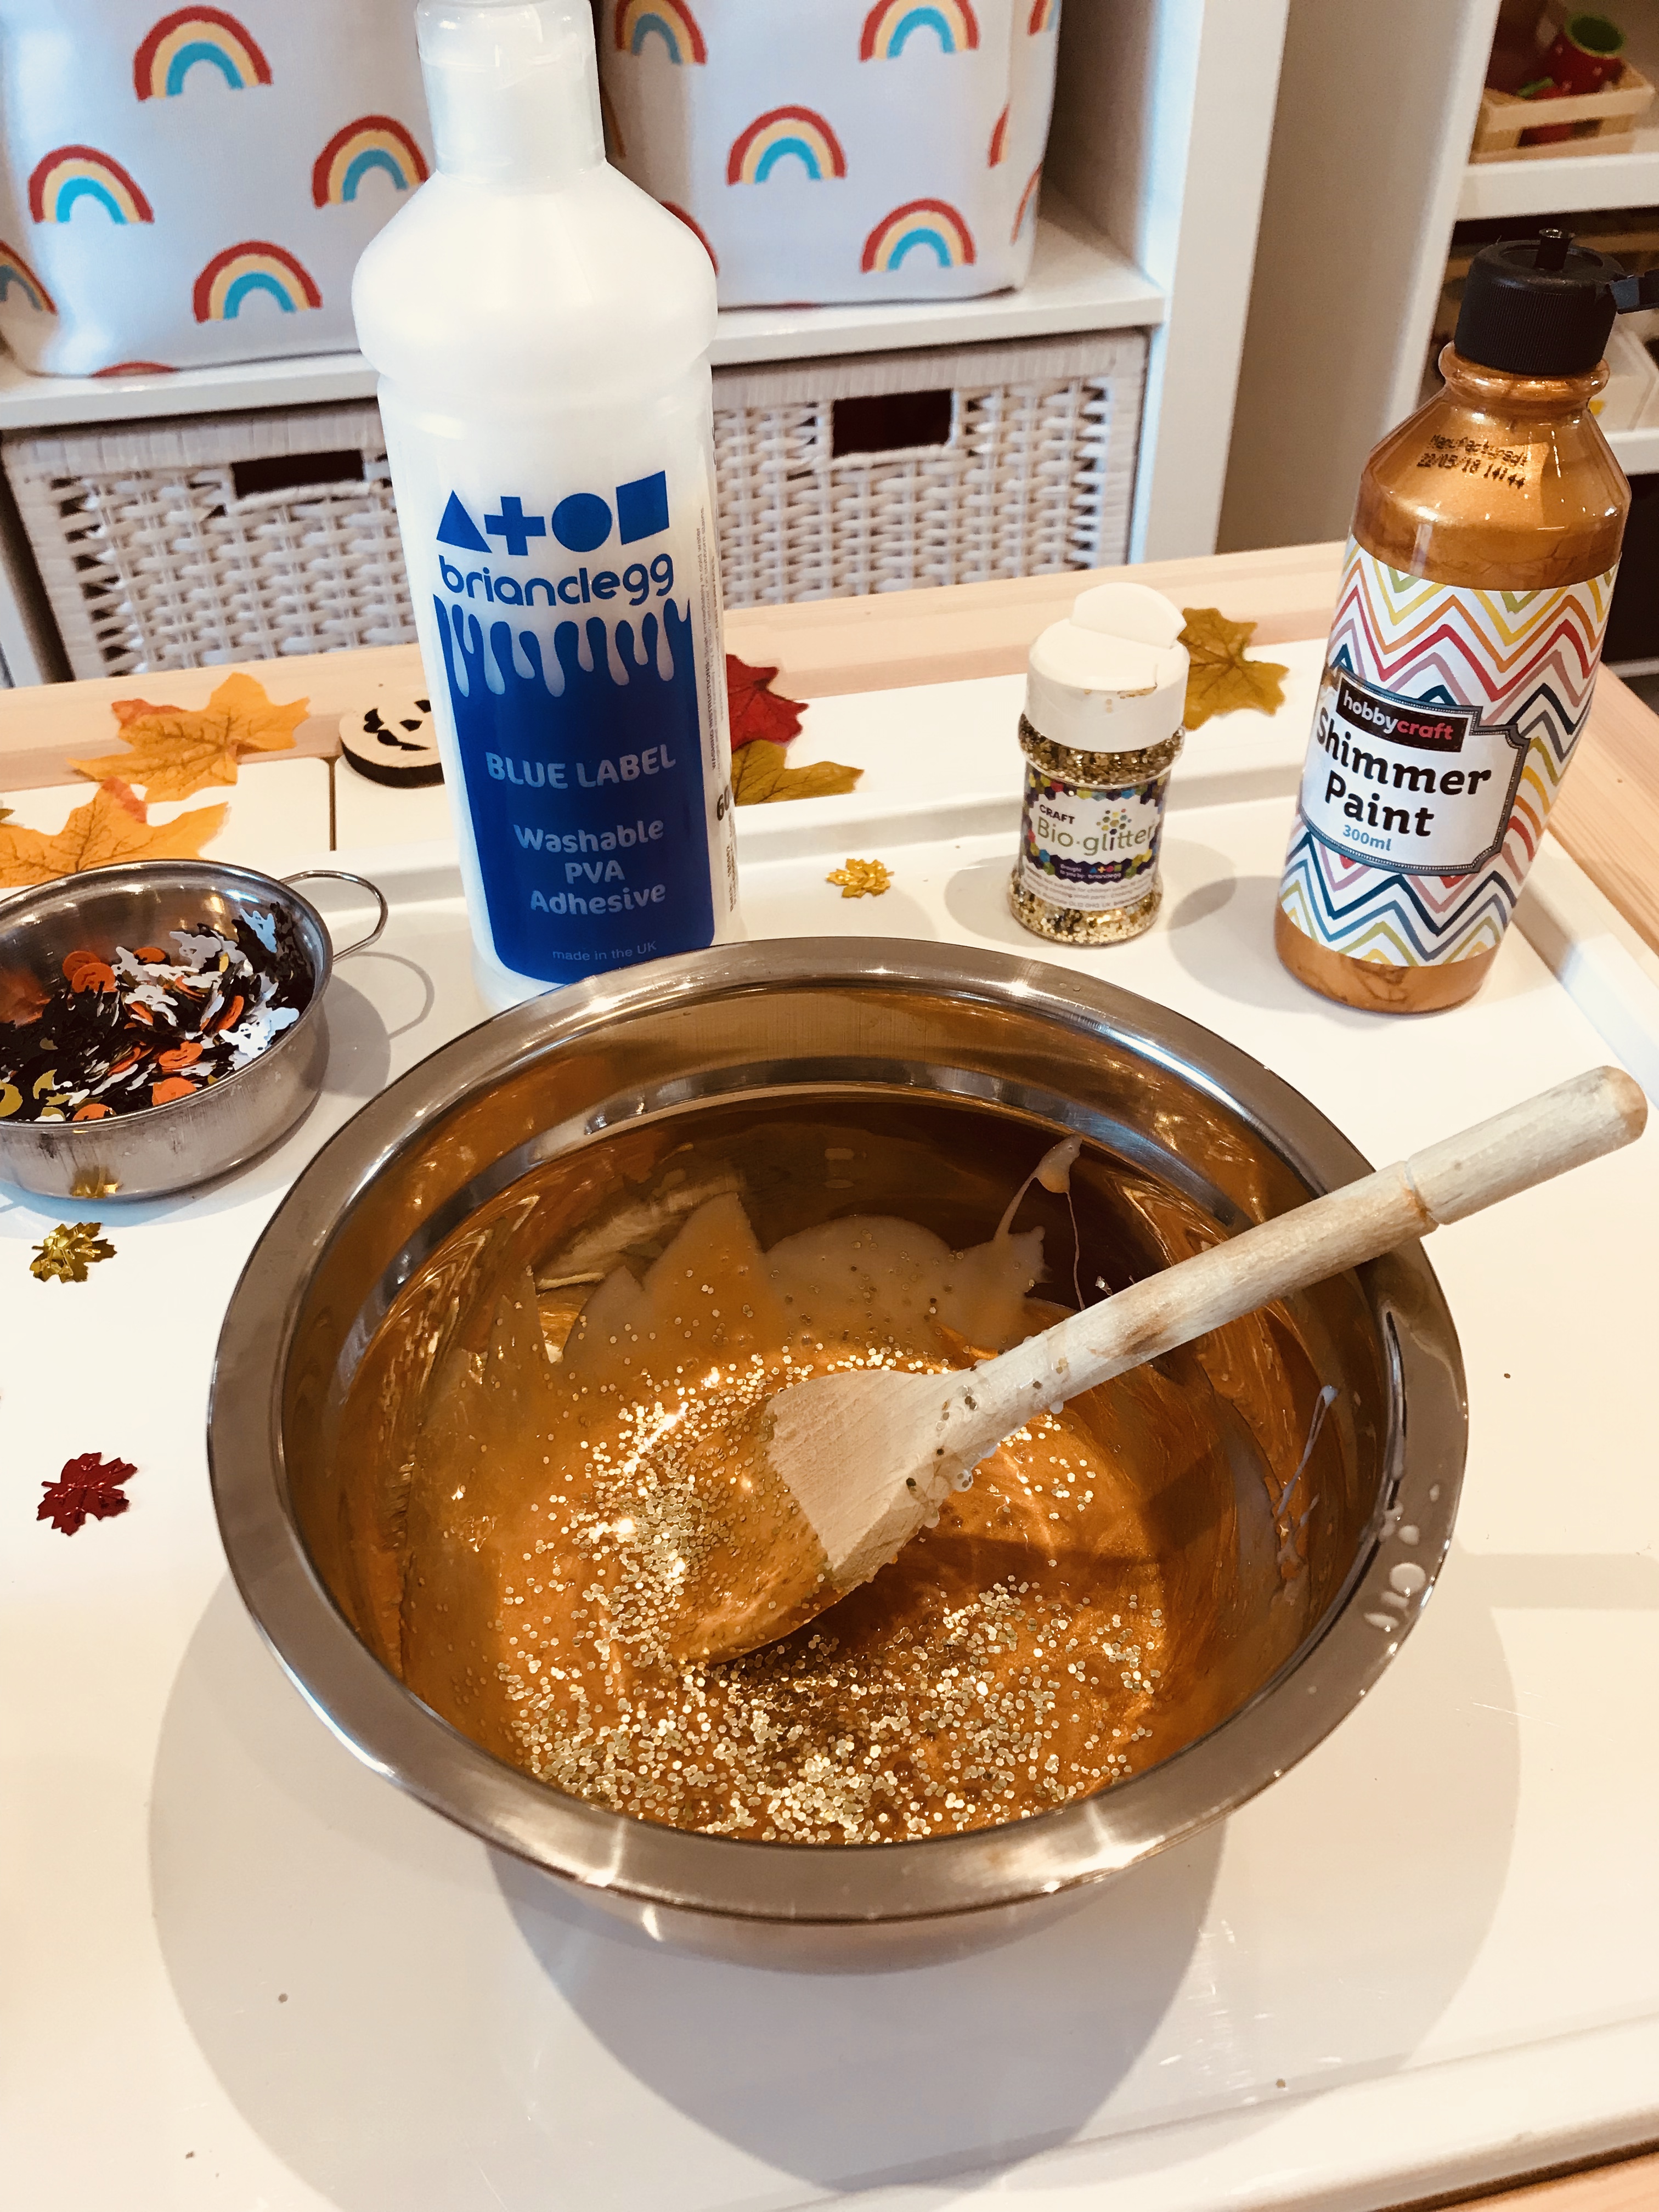
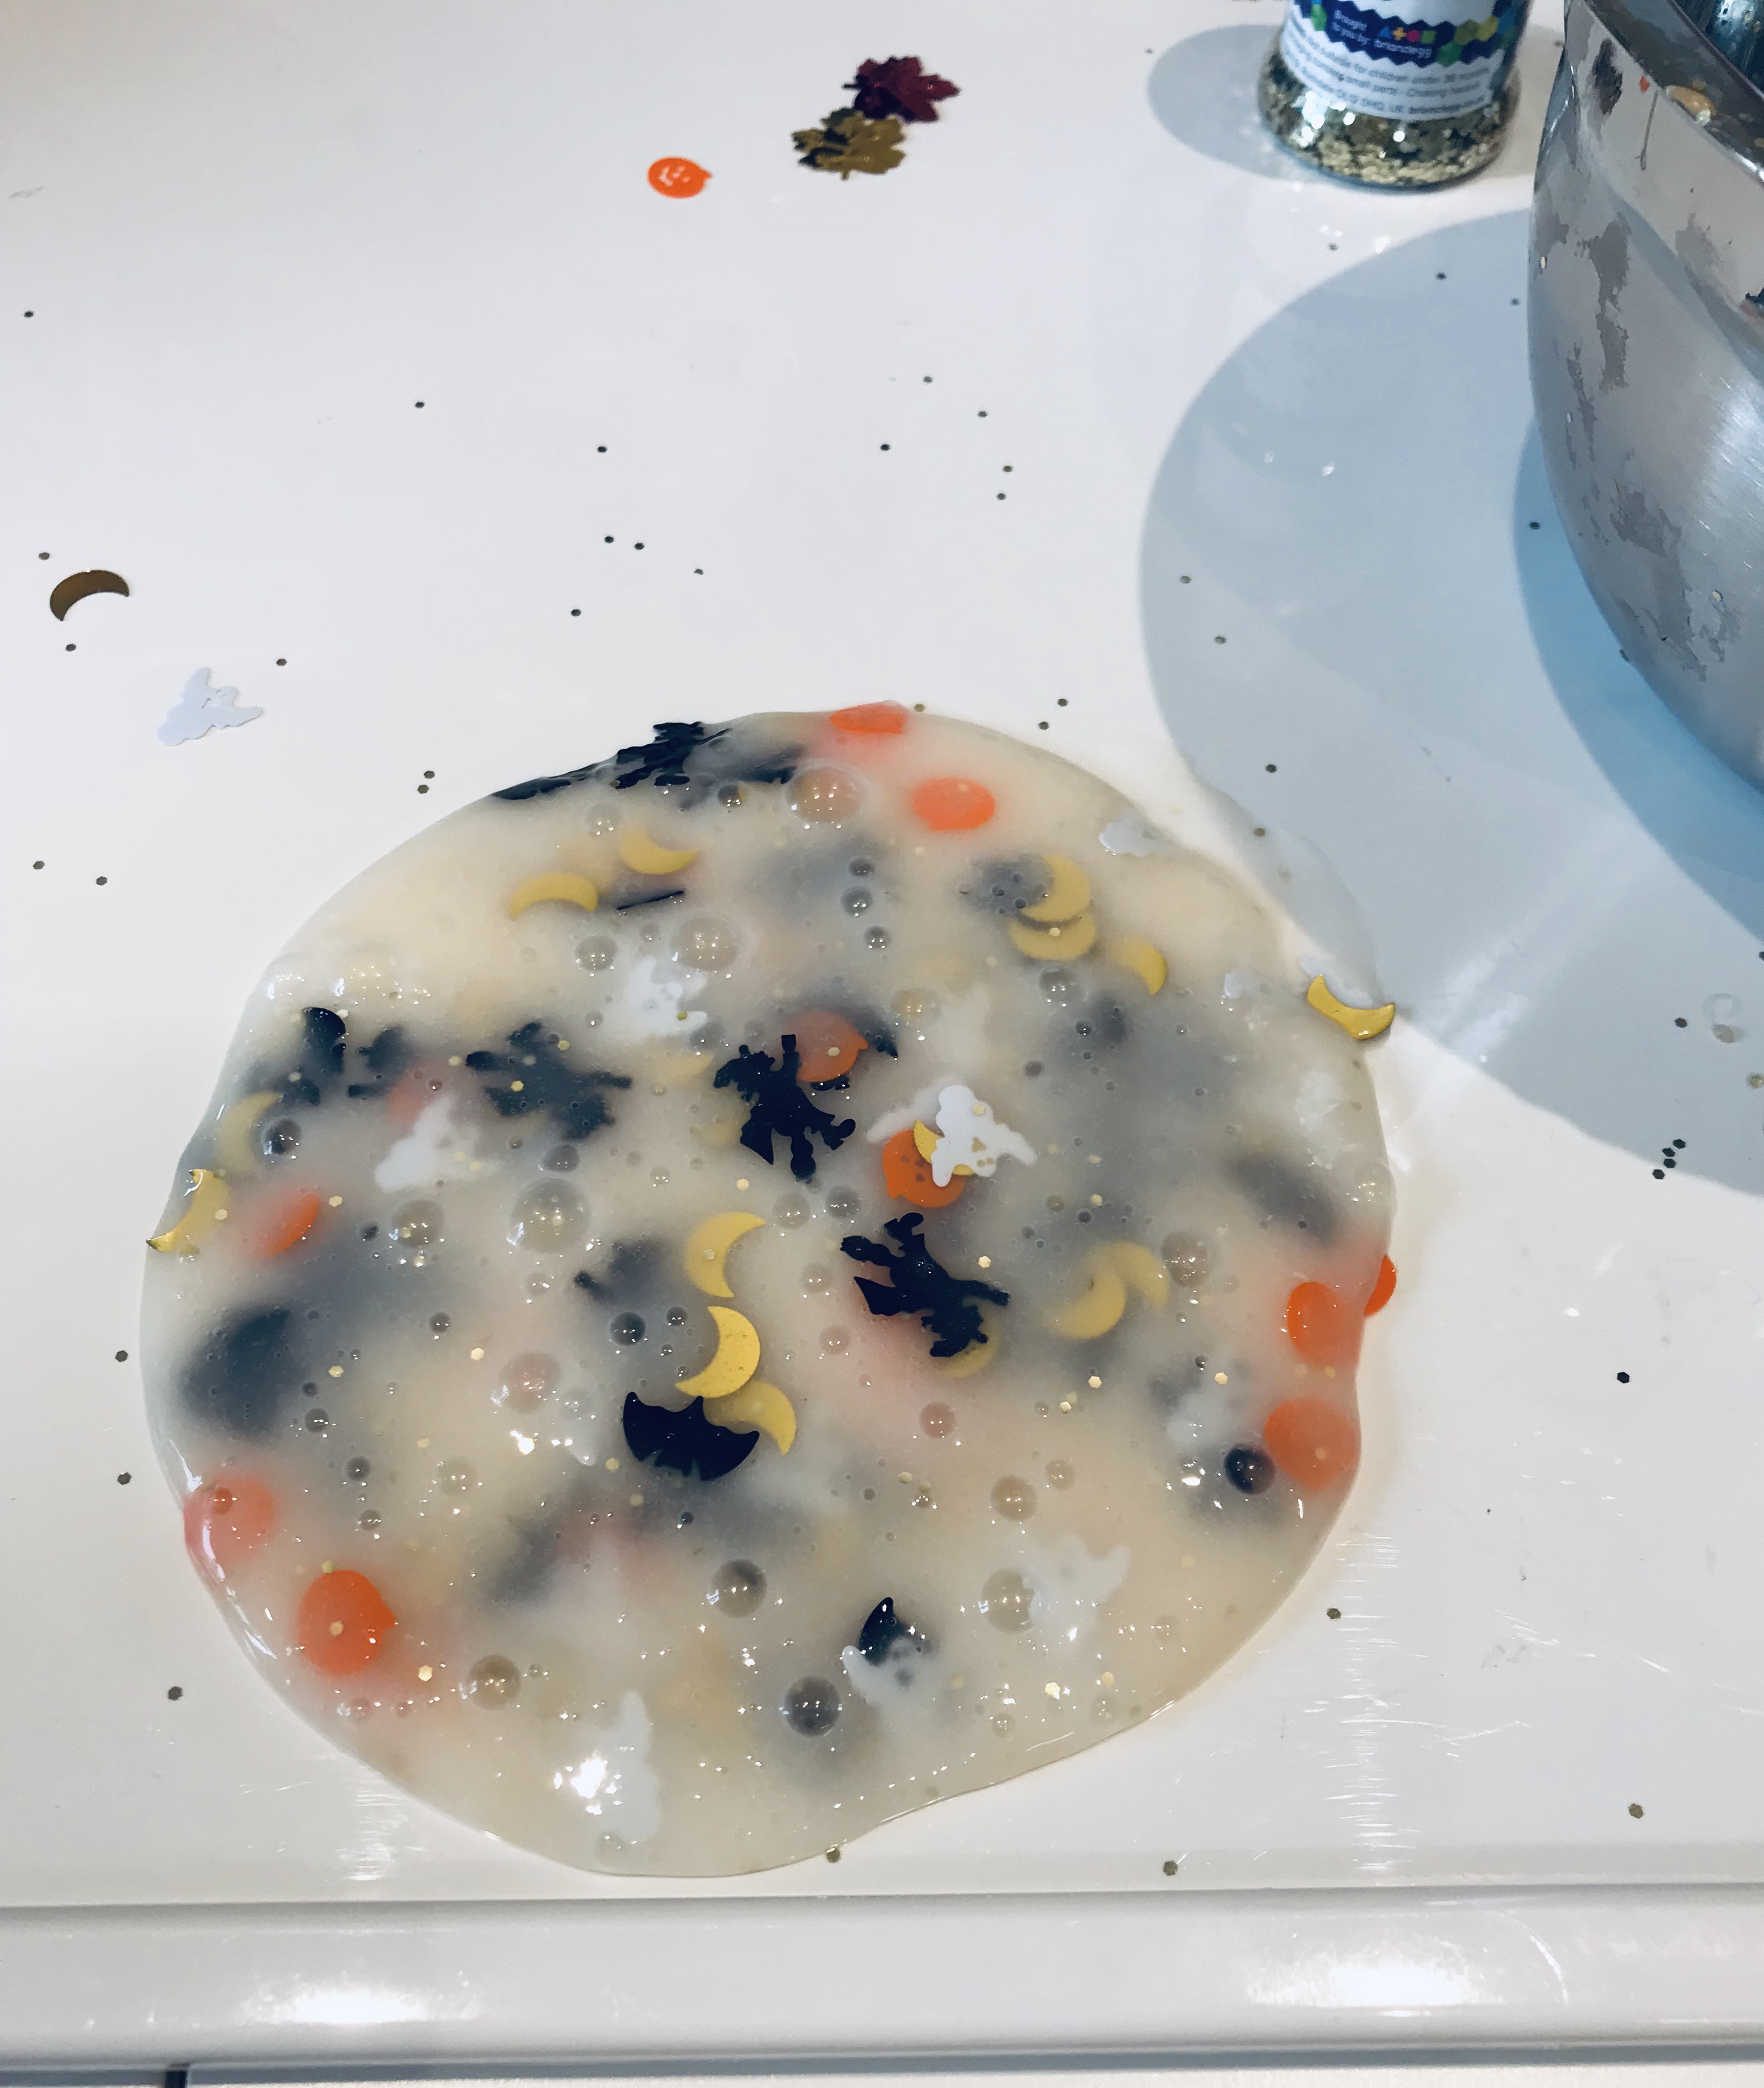
Slime with Bioglitter

Recipe 

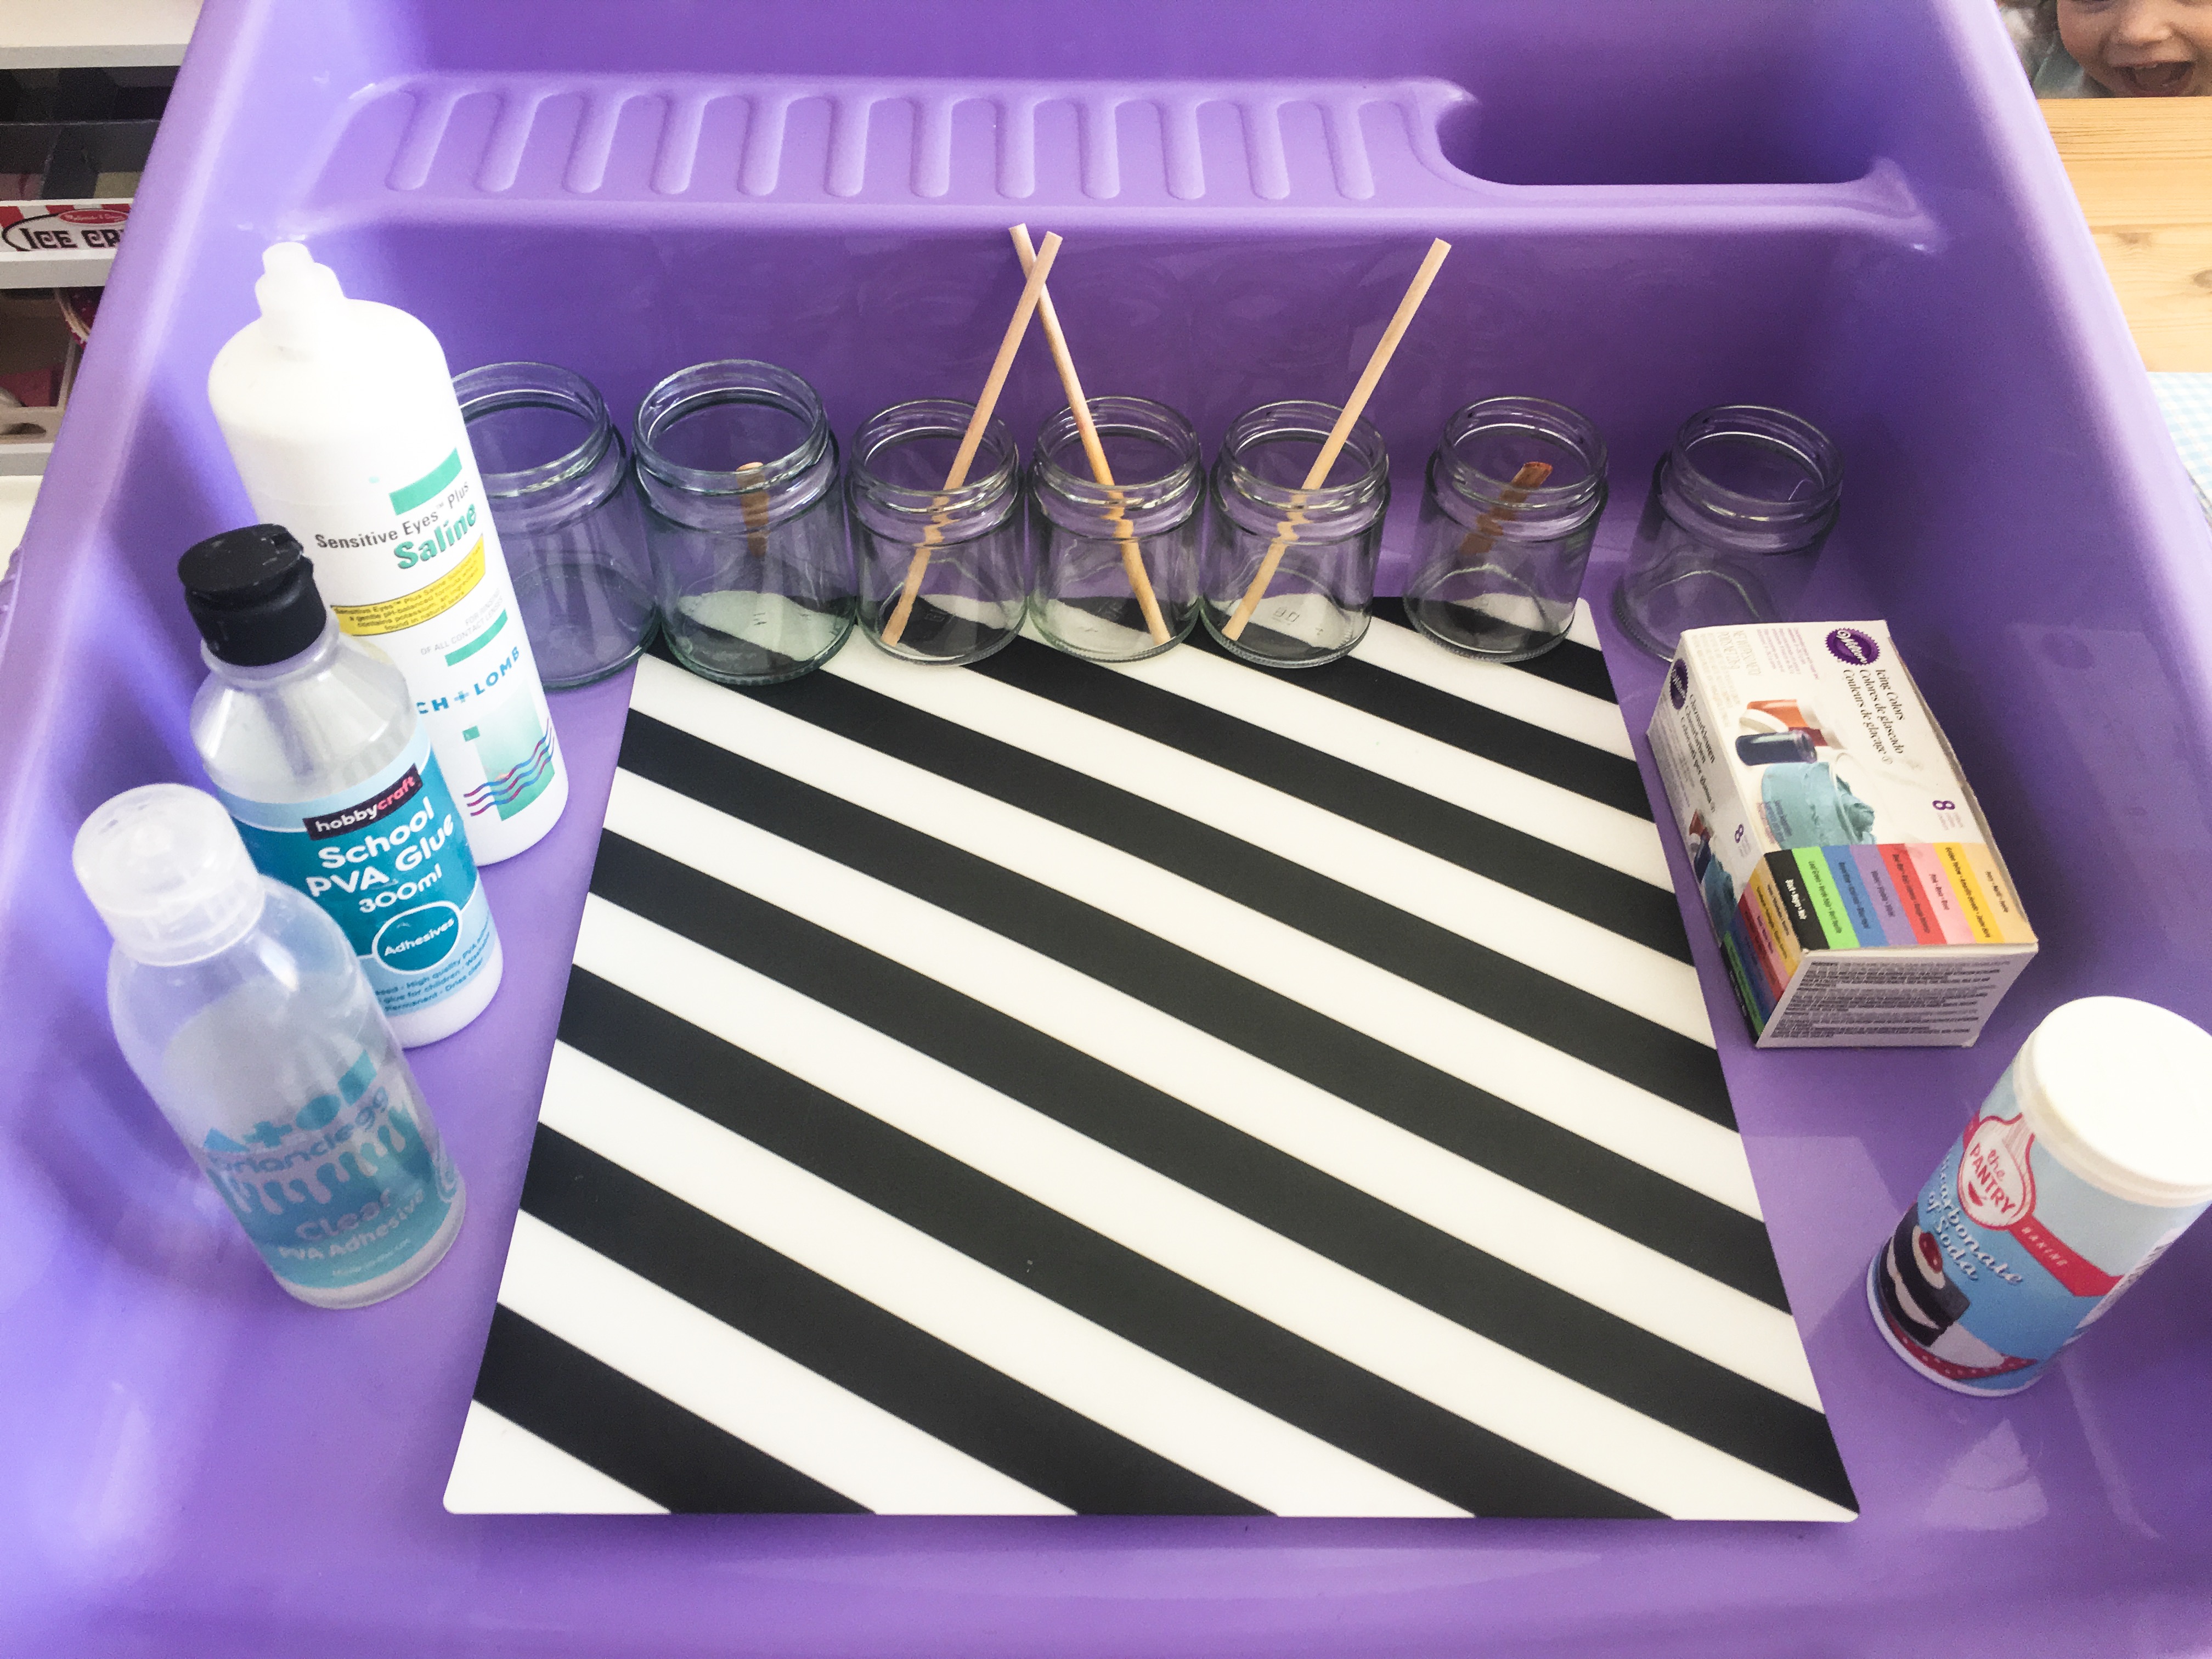
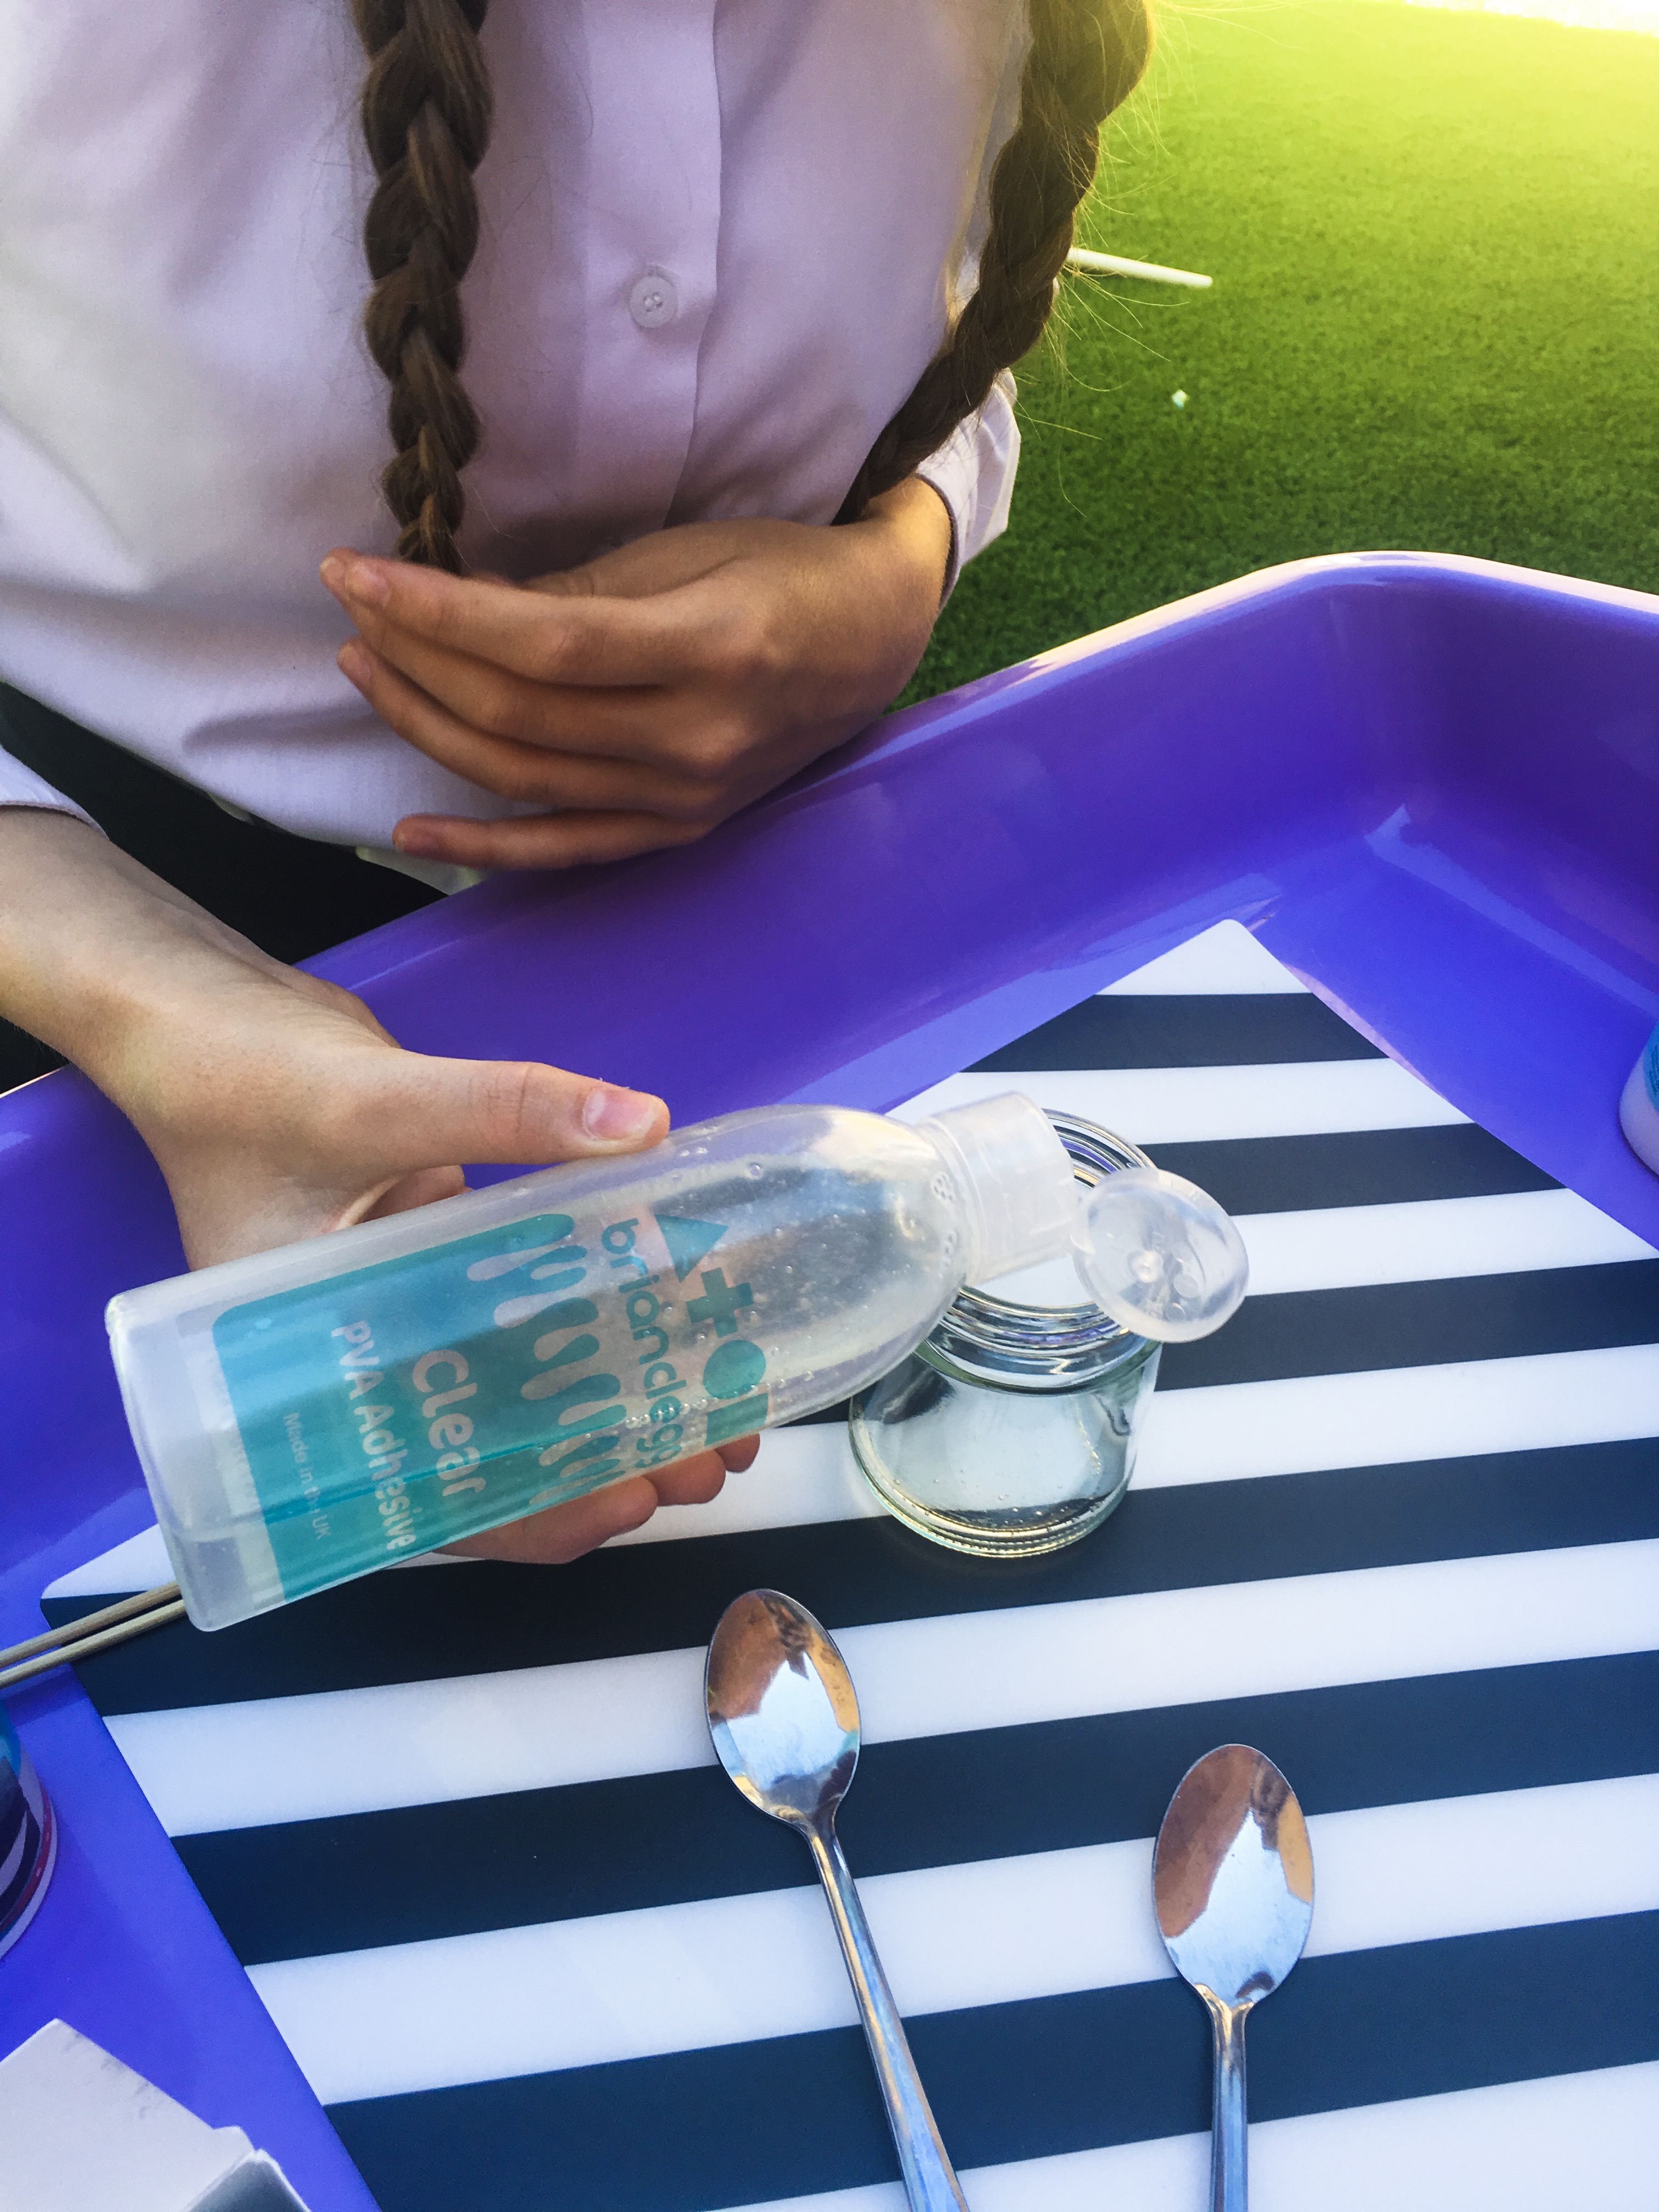
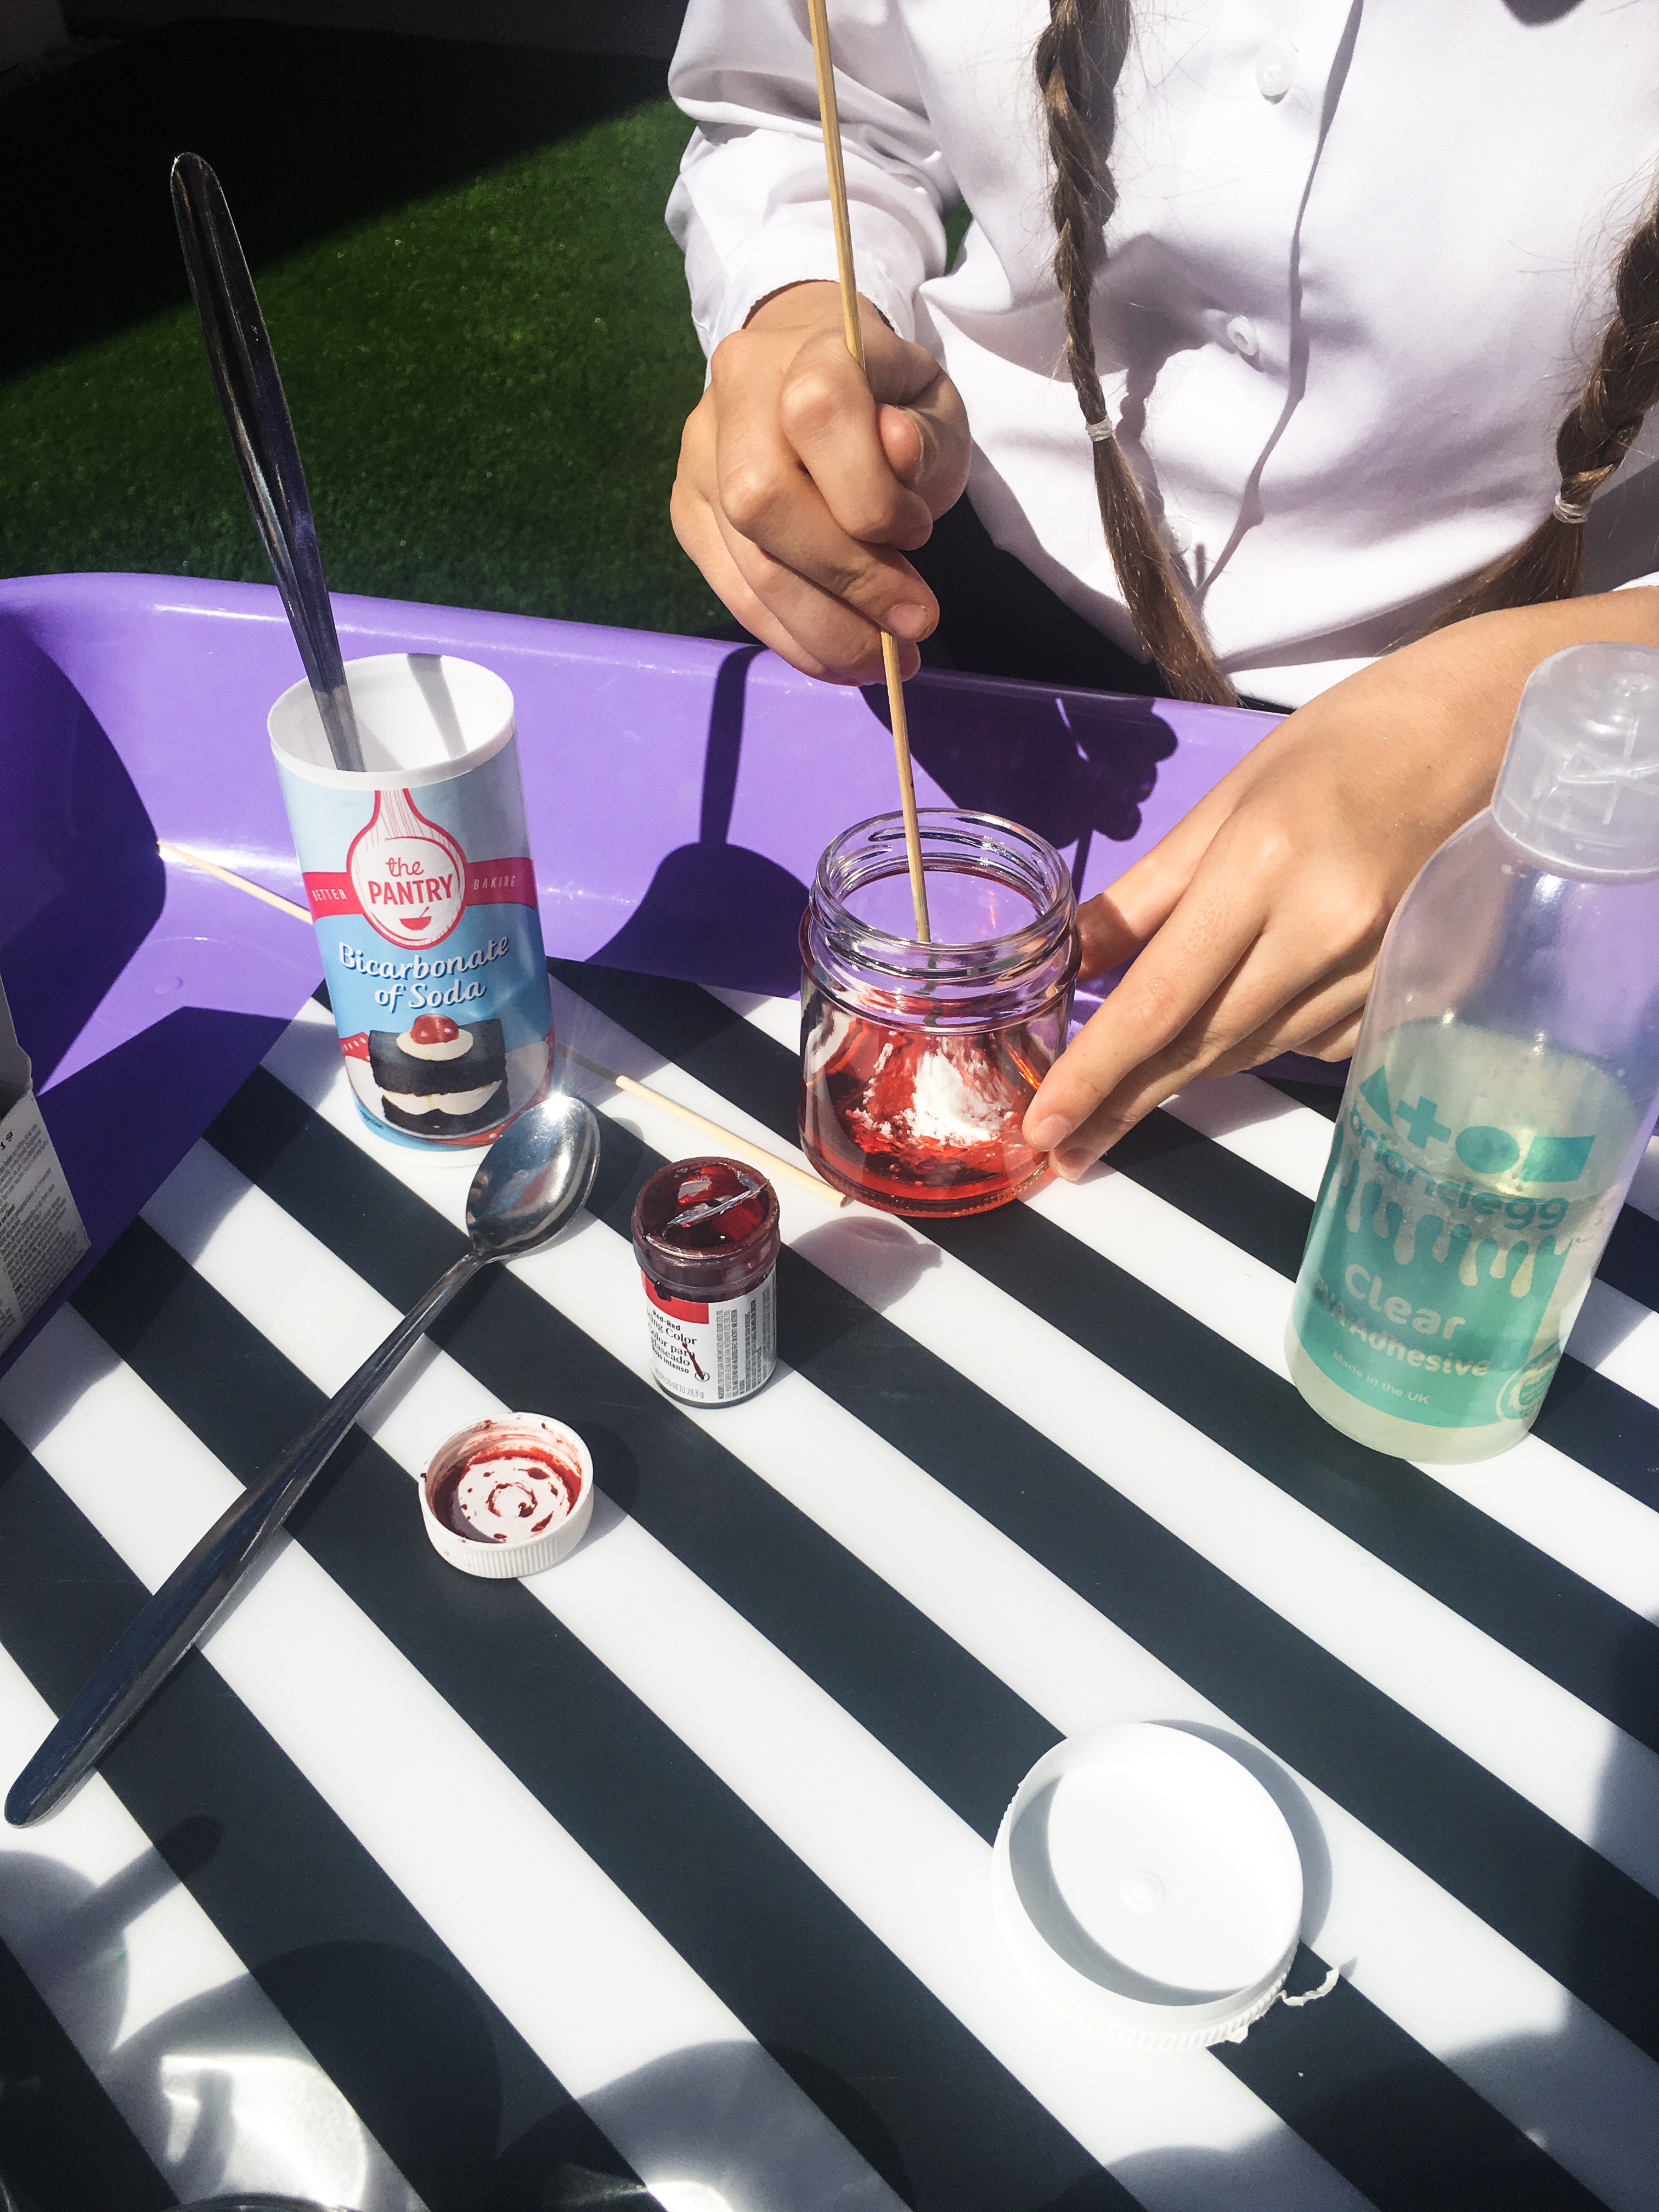
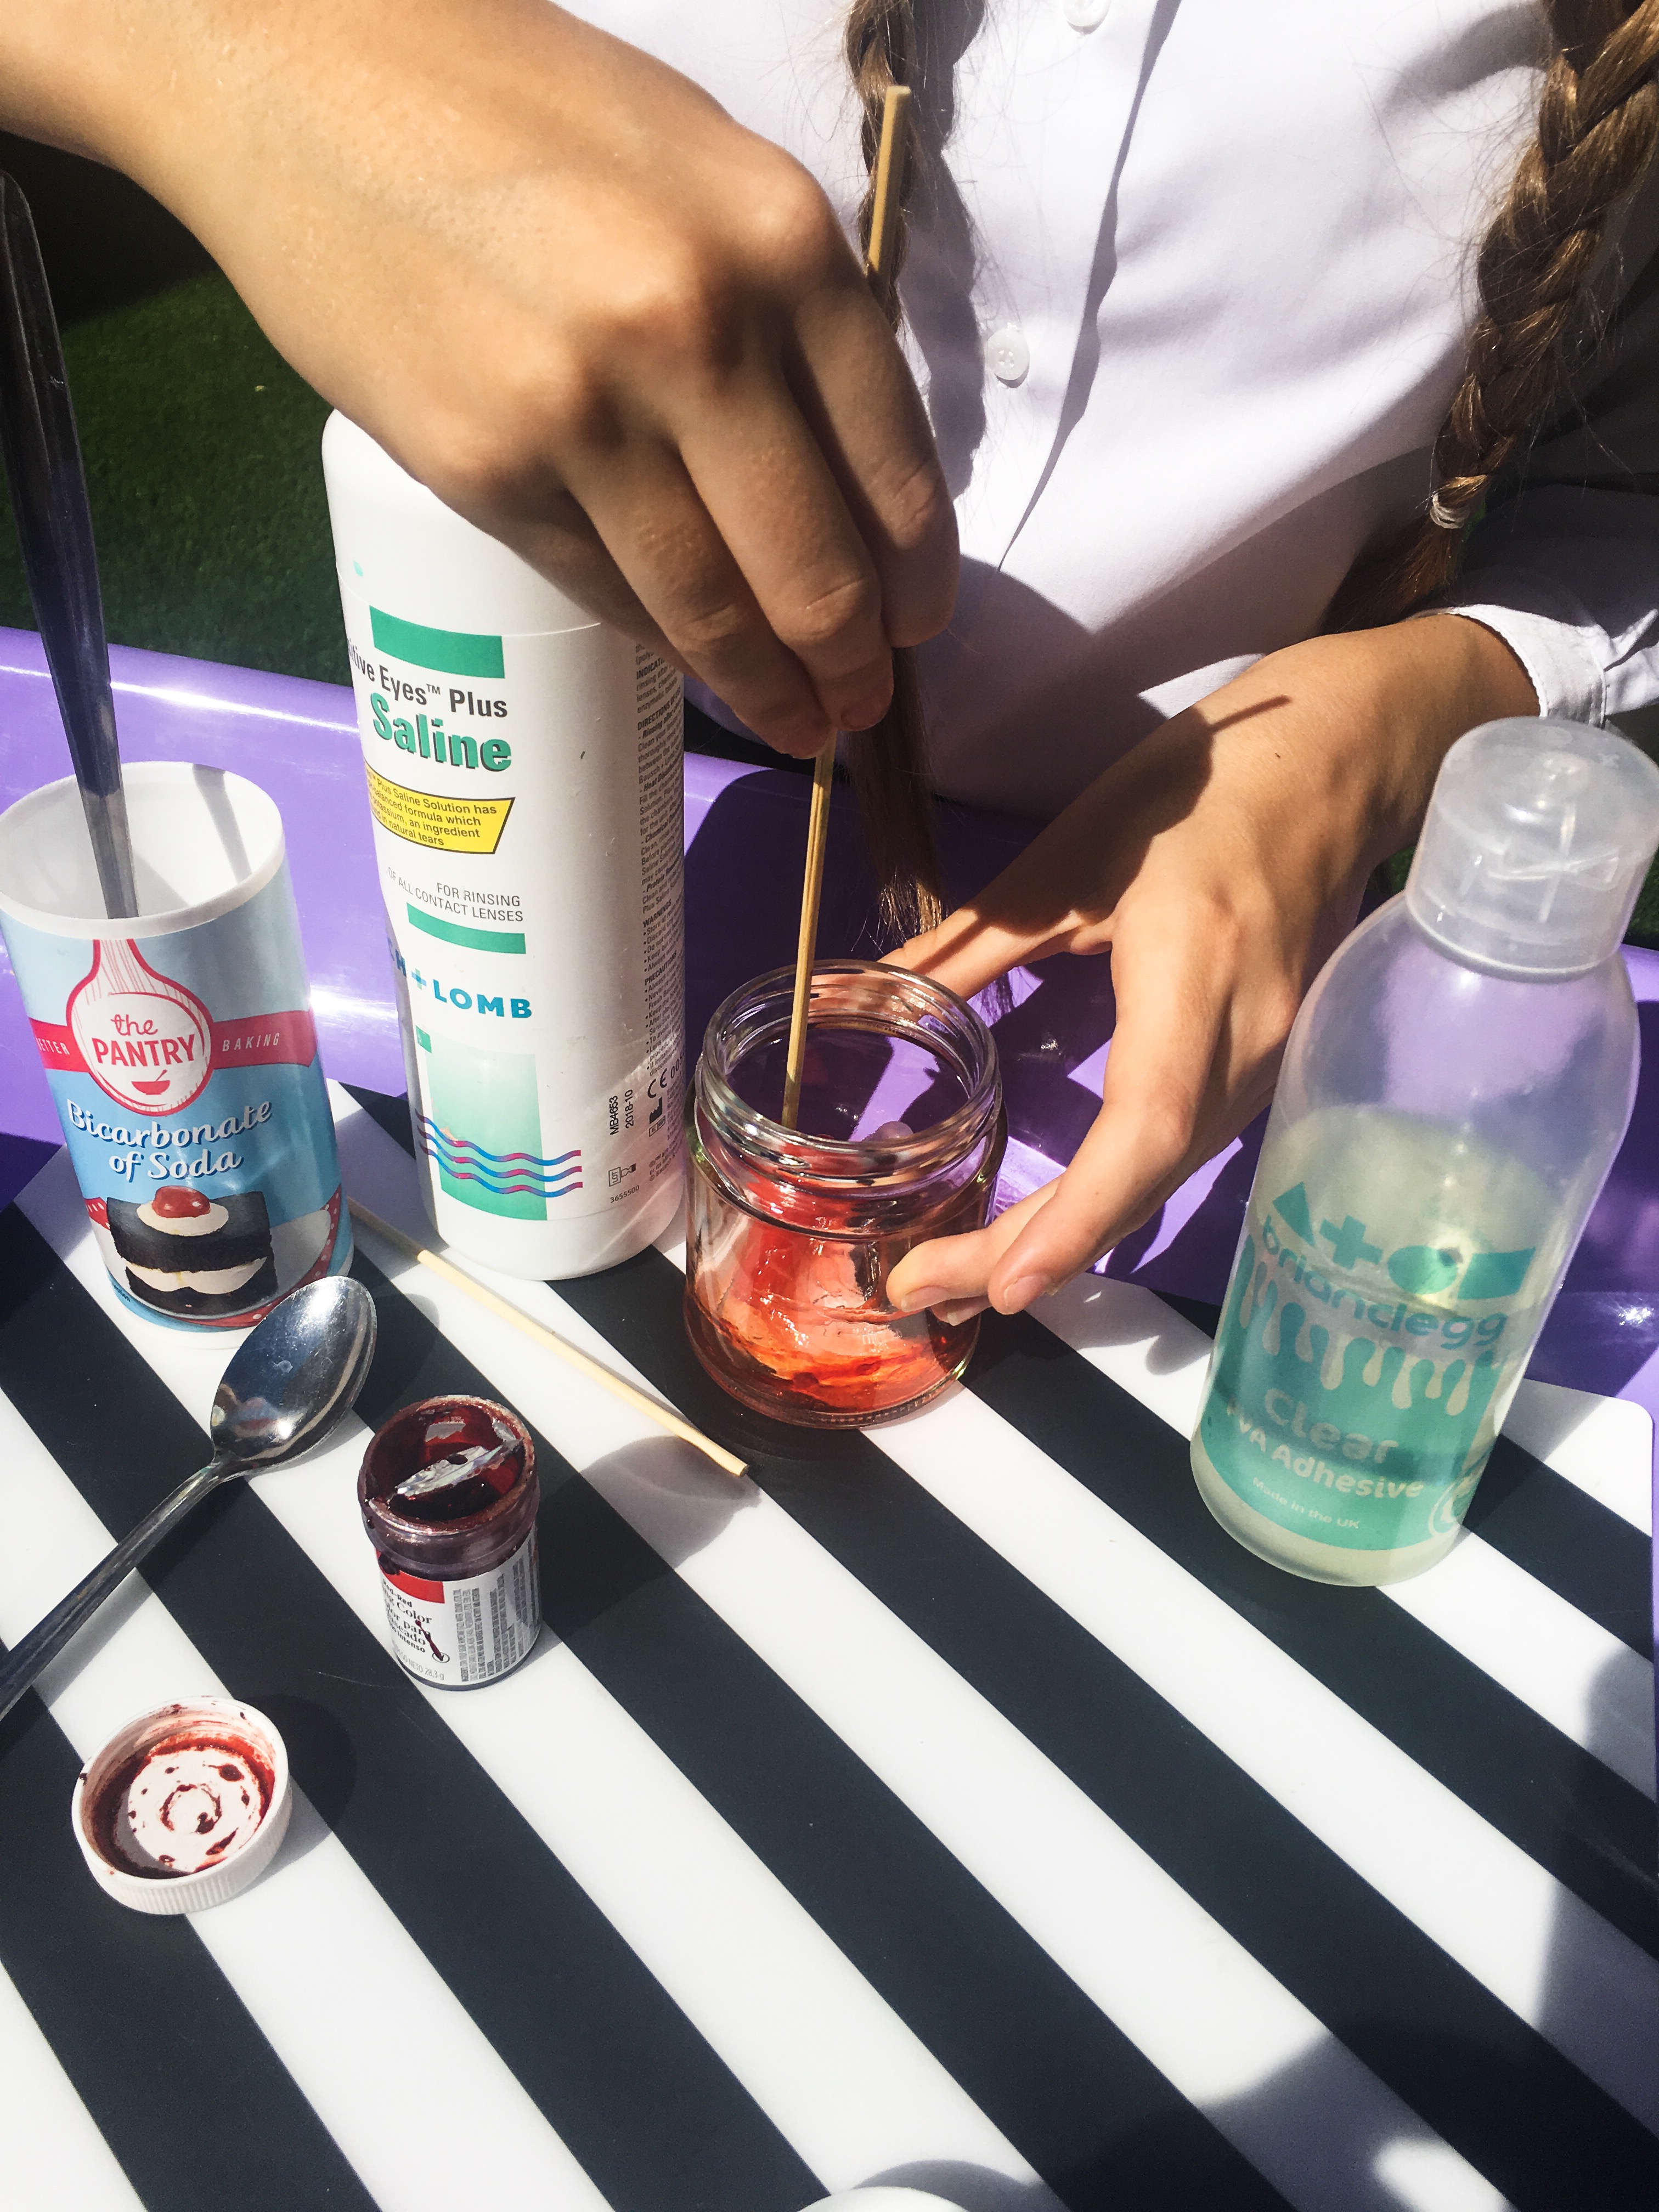
120 mls glue (we use Brian Clegg glue)
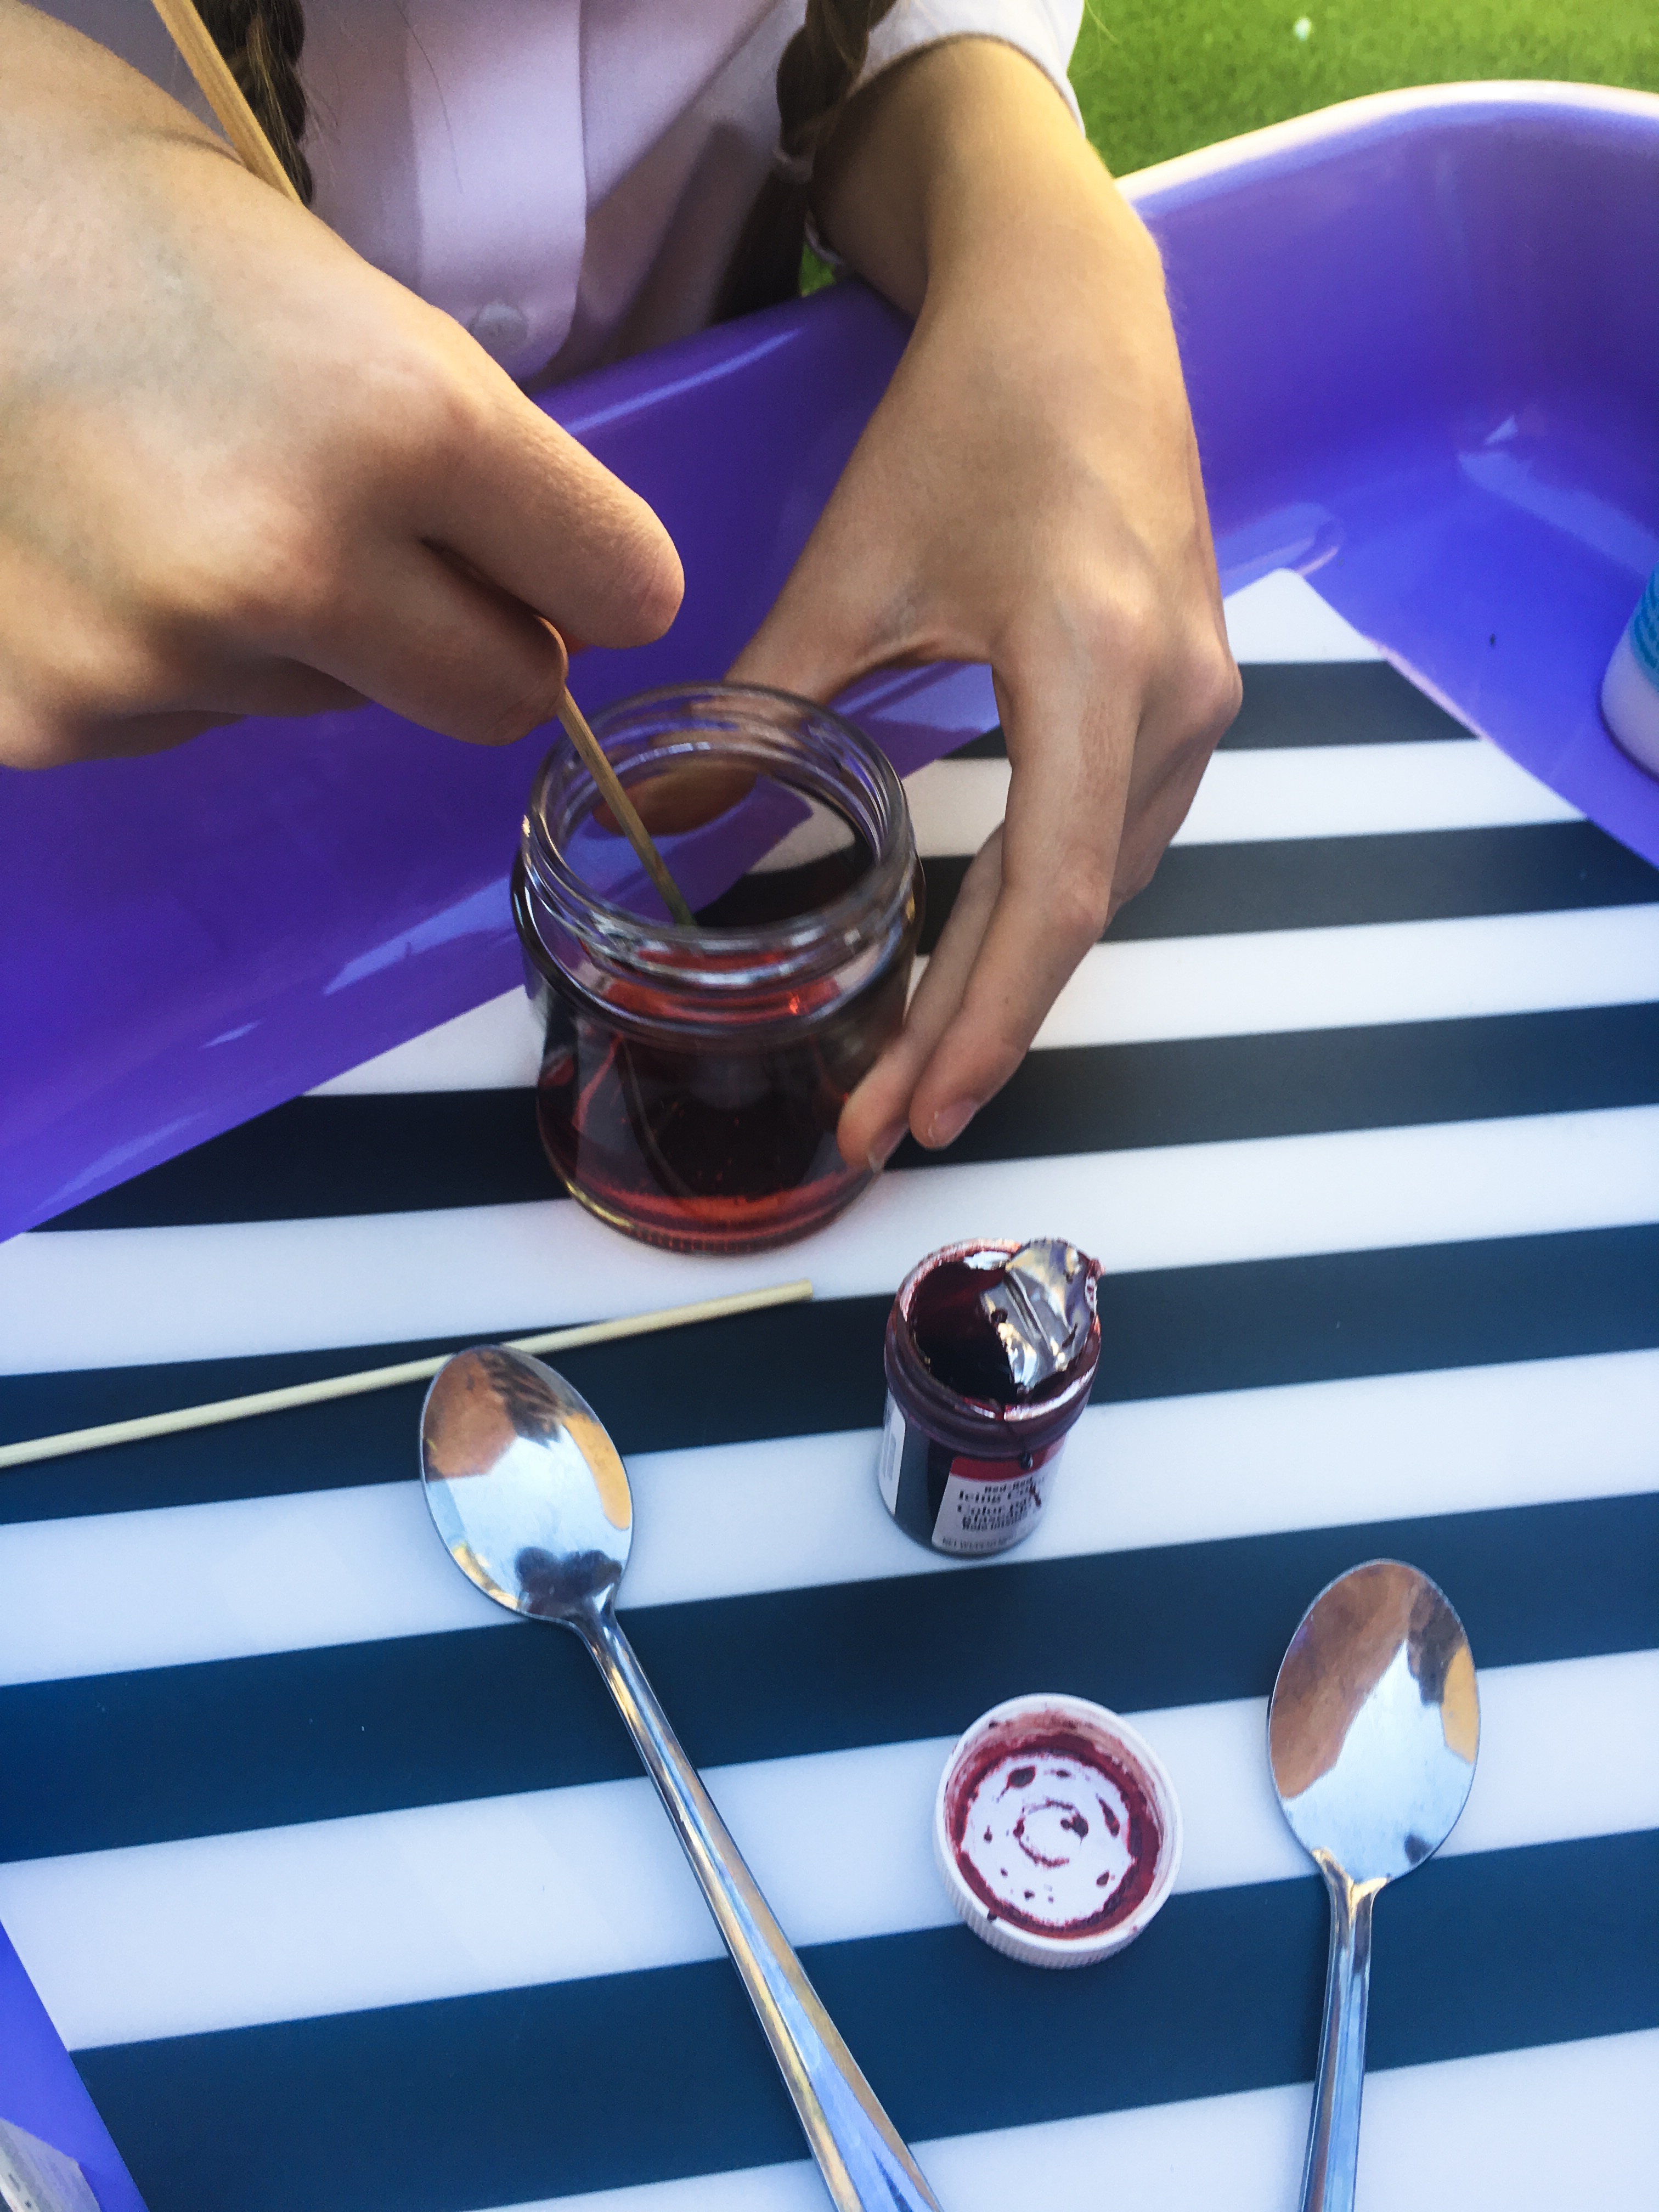
1-2 tbs paint

Lots of Bioglitter

Enough activator for the mixture to come together and leave the sides of the bowl. If it’s still too sticky then add a tiny bit more but be careful to add the activator bit by bit as too much will result in slime that breaks and becomes like rubber.

We find contact lense solution(it must contain borax) and bicarbonate of soda a great activator but we also use borax or laundry detergent (follow the instructions on the pack for these).


We hope you enjoyed reading about Bioglitter and if you’d like to know how to make Bioglitter play dough please check out our Pumpkin Bioglitter Recipe blog post.

Thanks

My Three Little Strawberries

X

Follow:
G G

Find me on: Web

Rainbow slime

Rainbow slime

What you will need for this recipe

  • Clear PVA glue
  • Contact lense solution
  • Food colouring (we use gels)
  • Bicarbonate of soda
  • Lollipop sticks
  • Some jars or pots


We did not use certain amounts for this recipe, we just filled the bottom of a jar with about an inch of PVA glue and then added the rest of the ingredients as needed, using a small amount at a time and adjusting as needed. We used Brian Clegg Clear PVA glue, as after months of searching for clear glue we finally found this one.


Next we added the food colour. We always use gel as its much more concentrated and gives a more vibrant colour. You only need to use a really tiny bit!


After we got the right shade colour we added the bicarbonate of soda. We used about a teaspoon but you can alter this as needed.


For this batch of slime we used contact lense solution as a borax substitute but for our next slime blog post we have ordered some borax to try out so we will let you know how this turns out very soon!


Key to good slime is the kneading process so work the slime for as long as needed until you get a good texture (not too sticky and not too wet).


Here the girls are working their slime and really enjoying it. Slime is such a great sensory experience.


You can see here how the clear glue gives such an amazing effect.


The girls just love making slime and ask to do it almost everyday!

They are looking forward to the next batch already and we cant wait to see how it turns out with the borax recipe.

We hope you enjoyed our rainbow slime and would love some feedback or if you have any ideas for the next batch, let us know!

Thanks for reading,

My Three Little Strawberries

x


Follow:
G G

Find me on: Web